Naturally Sweet Carrot Cake

IMG_9109

Hard to believe, but my second trimester is coming to a close. Ryan and I completed our hypnobirthing class on Monday, and we found a sweet doula, Sarah York, over the weekend. After much thought and debate and prayer, we’ve decided to give birth at the hospital. Thankfully my OB is a family friend and lives just three houses up from my parents. Even more reassuring, she had natural births with all four of her children and is excited about my choice to avoid as much medical intervention as possible. Perhaps next time around, we’ll consider doing a home birth or making the drive to Denver, but since there is so much I don’t know about labor and delivery, I believe the hospital will be the best atmosphere for Lucy’s arrival.

That being said, I’m working on a birth plan that is both specific and purposeful. We talked about birth trauma in our hypnobirthing class, and the concept has guided my thinking as I consider labor and delivery. We often forget that babies are an equally important part of the birthing process. Their tiny, flexible bodies work down through the birth canal, leaving behind the safety and security of the womb. It is their lungs that must take those first gasps of air and their eyes that lock onto the faces of their mothers. As we enter into the third trimester, I’m preparing my body and my soul for a peaceful and joyful birth. One in which Lucy feels no fear. Now of course, so many different scenarios can occur and birth rarely happens the way we expect. But I do know that my mind and my soul can hold onto the promise of hope and peace no matter what turn my birthing may take.

IMG_9158

As I mentioned last week, my appetite has grown IMMENSELY. I feel like I need to eat every two hours…and not just a granola bar…a hefty meal. Last night, I ate an apple, peanut butter, a whole wheat bagel, two slices of cheese and cinnamon raisin bread. All of this consumed after a full dinner of pasta and shrimp. She’s growing, I’m growing, so I’ll keep on eating as much healthy and real food as my body demands.  Thankfully, I haven’t had any cravings for cake or cookies or ice-cream. I tend towards more savory food or treats that have been naturally sweetened, like this Carrot Cake.

We had a few friends over for dinner on Saturday night, and I wanted to offer them both a healthy and not-so-healthy dessert option. This carrot cake seemed like a natural choice for the beginning of March. As I grated carrots and chopped dates, I felt Lucy’s foot along the right side of my abdomen (her very favorite place to remind me she’s there, inside me). I gave her a gentle rub and continued on with my mixing bowls. Now, as a baker, I read dozens of recipes each month. I spend more time baking than most people spend cooking. So I know that 4 oz. of butter is equivalent to one standard stick. However, pregnancy brain has been a definite symptom this trimester, and on Saturday, when I read 4 oz. of butter in the recipe, I cut my stick in half, only melting 2 oz.

IMG_9117

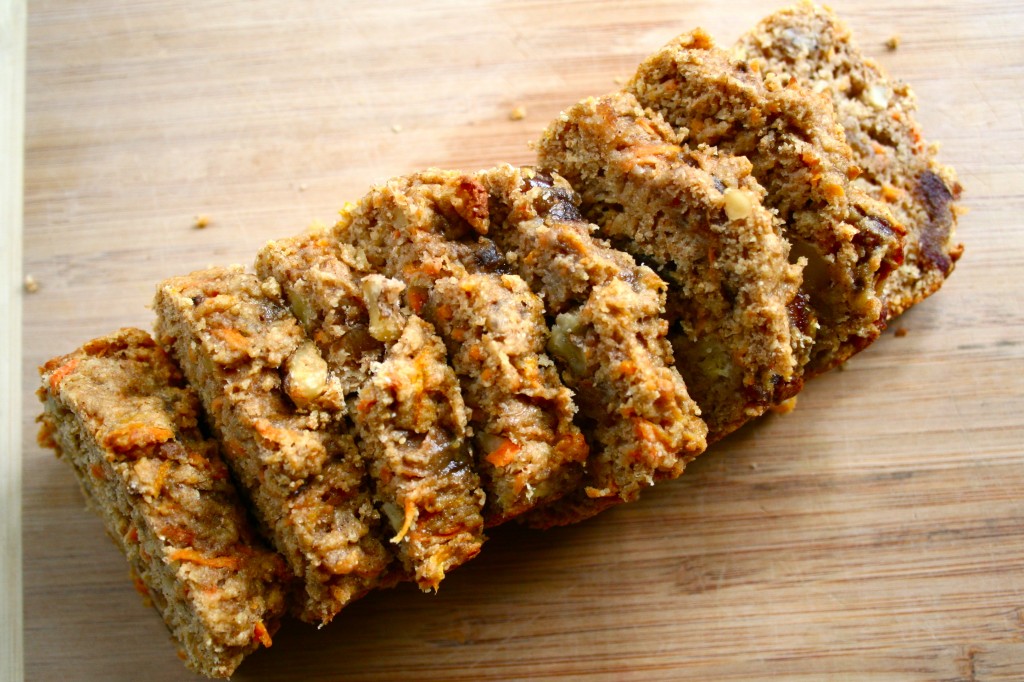
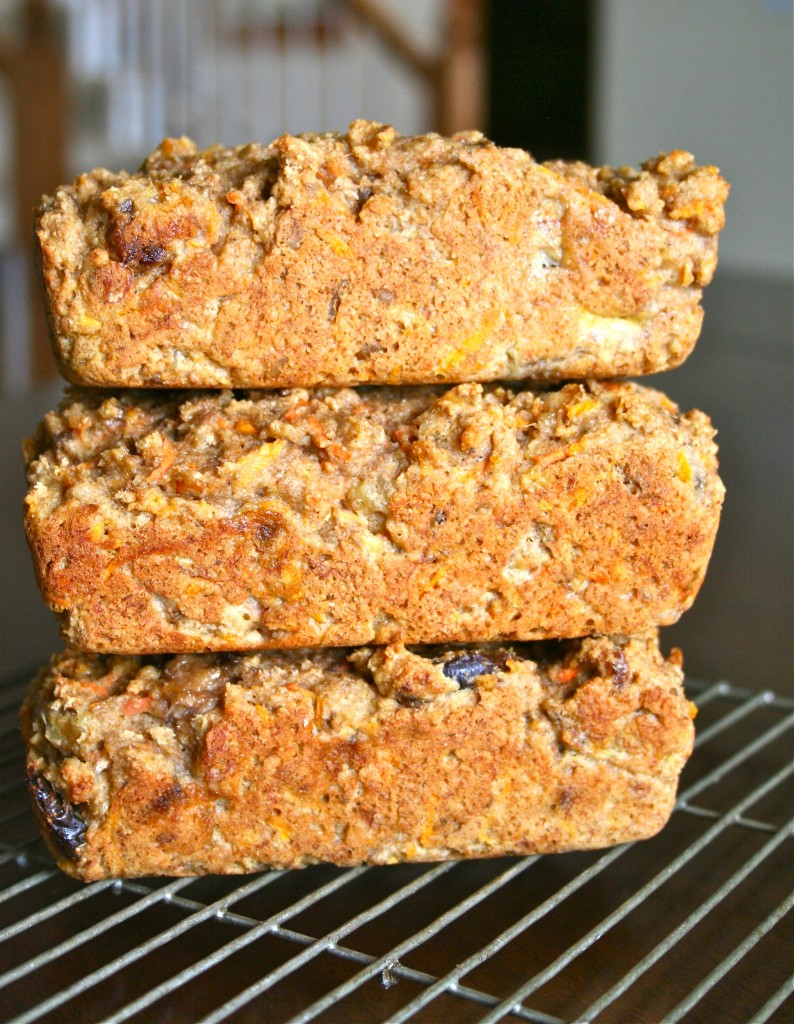
As often happens, I realized my mistake mid-bake. The loaves were already rising in the oven, and there was nothing I could do but hope that they still tasted okay. Much to my delight, the carrot cake loaves were still moist and light, not too greasy but flavorful. Not only had my mistake not been fatal, but I actually preferred the carrot cake with 1/2 as much butter as the original recipe calls for.

Now, as a word of caution, this is a lovely carrot cake recipe, but there is absolutely no sugar, no honey, no maple syrup. Ripe bananas and dates provide all the sweetness. So if you’re looking for a classic carrot cake, I’d find another recipe. But if you’re like me, this naturally sweet carrot cake will become a favorite. It’s wholesome, moist, and full of texture and flavor. A real winner in my book…and I think Lucy likes it too.

IMG_9115

Naturally Sweet Carrot Cake

Adapted from 101 Cookbooks

2 cups whole wheat pastry flour
2 1/2 teaspoons baking powder
1 1/2 teaspoons cinnamon
3/4 teaspoon fine grain sea salt
3/4 cup finely chopped walnuts
2 ounces unsalted butter, heated until just melted
1/2 cup dried dates, seeded and finely chopped into a paste
3 ripe bananas (1 1/4 cups), mashed well
1 1/2 cups grated carrots (about 3 medium)
1/2 cup plain Greek yogurt
2 eggs, lightly whisked

Preheat oven to 350 degrees Fahrenheit. Butter a standard 8-cup loaf pan (or 8×8 cake pan or four mini loaf pans) and line it with parchment paper.

In a small bowl, sift together the flour, baking powder, cinnamon, and salt. Stir in the walnuts and set aside.

Stir the dates into the melted butter, breaking up the dates with a knife or fork.

In a large bowl combine the bananas and carrots. Stir in the date-butter mixture, breaking up any  clumps as you go. Whisk in the yogurt and the eggs. Add the flour mixture and fold until everything just comes together. Spoon into the prepared pan (s). Bake for about 50 – 60 minutes (35-40 for mini loaf pans) or until a toothpick tests clean in the center of the cake.

Allow to cool for ten to fifteen minutes before removing to a wire rack. Eat within one day or two of baking. These loaves freeze well, so don’t be shy about saving a loaf for next weekend.

Monet

Anecdotes and Apple Cores

Mint Chocolate Mash-Up Cookies

IMG_9071

Saint Patrick is the patron saint of Ireland, and as many of you know, his feast day is this upcoming weekend, on March 17th. Although I went to an Episcopalian school as a young girl, I knew very little about Saint Patrick until I started to write this blog post.

I learned a few details worth sharing. Saint Patrick was born in the first century and lived most of his childhood in captivity. There, under what were imaginably trying circumstances, he developed a relationship with God. At the age of 20, he finally escaped and returned to his family in Britain. But like most good stories, Saint Patrick’s past didn’t melt away. After his ordination many years later, he returned to the land of his captivity. But this time as a free-man and a bearer of the Christian gospel.

IMG_9067

And so it doesn’t entirely surprise me that people throughout the centuries have latched on to this man and his story. Because within the legend of Saint Patrick there is the golden thread of redemption, and we humans love stories where bad situations are worked for good.

But nowadays, most of us are more familiar with what Saint Patrick’s Day celebrations encourage: a heavy round of drinking. And while I’d love to sit back with a cold glass and a few friends, my little Lucy is very pleased that I’m abstaining from all alcohol until she is safely outside of my womb. But thankfully, there are many other ways to celebrate Saint Patrick’s day (and to be perfectly honest, I’d rather eat a cookie and learn about Saint Patrick than drink a glass of beer!)

IMG_9077

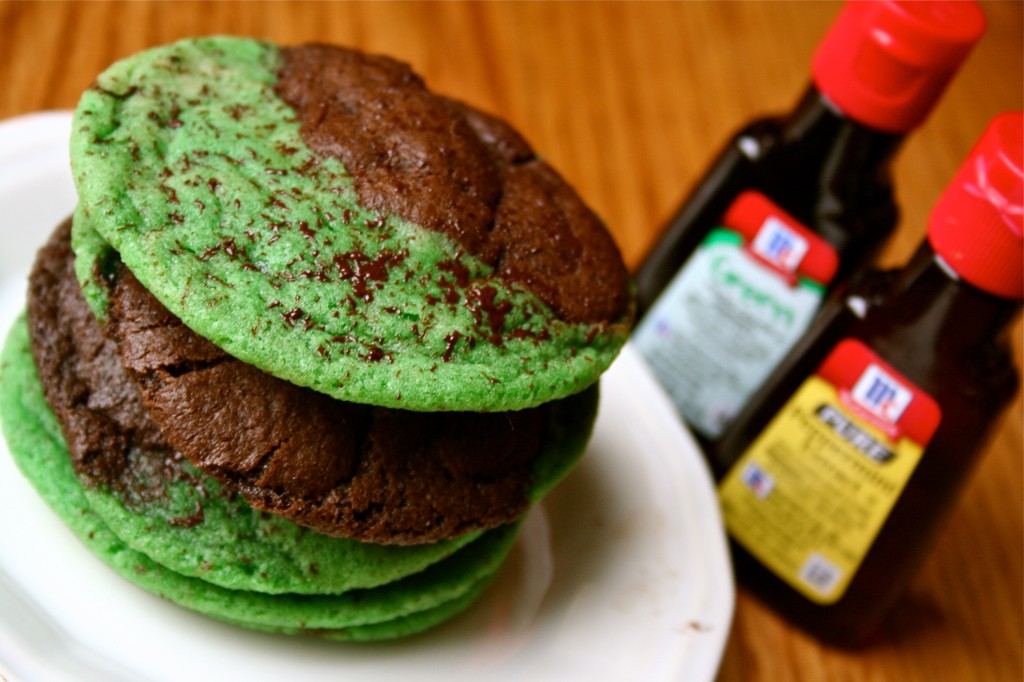
McCormick® generously sent me a package of their Pure Peppermint Extract and Green Food Coloring to experiment with in the kitchen this March. I opened the bottle of peppermint extract right away, and the smell transported me. The minty and cool aroma made me want to dive into my mixing bowls. In my mind, mint pairs perfectly with one quintessential dessert staple. I knew at first whiff I had to include chocolate in my recipe.

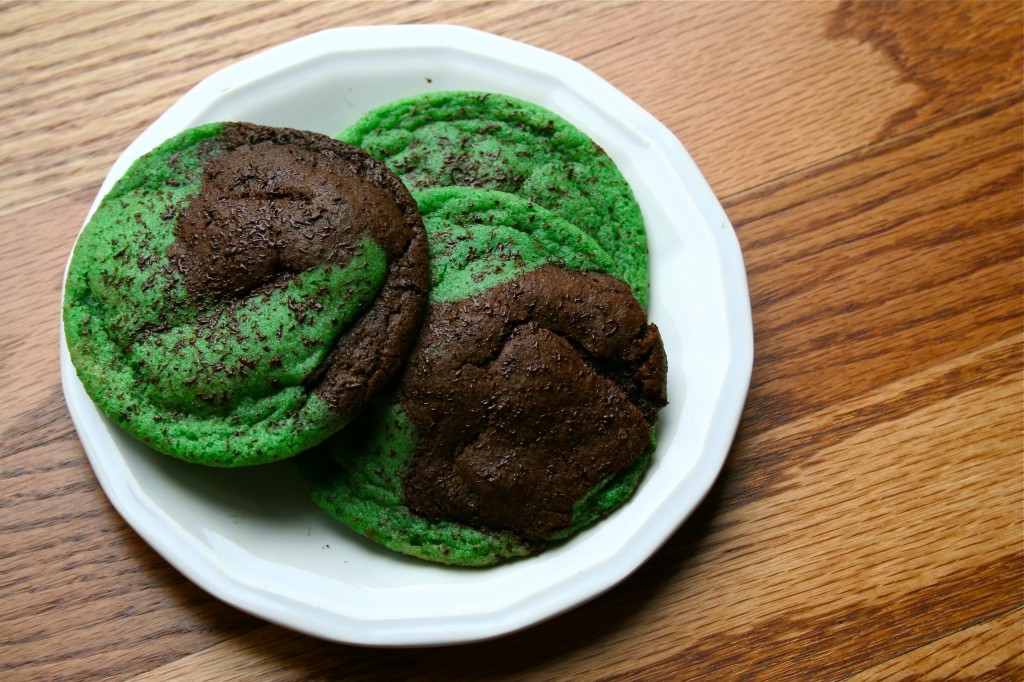
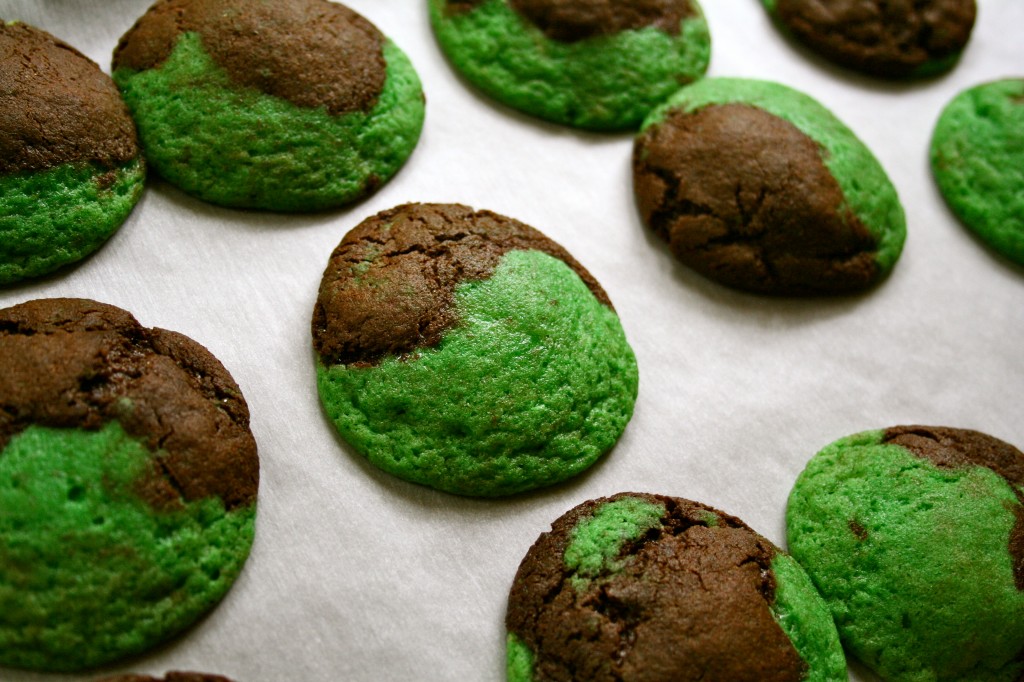
These Mint Chocolate Mash-Up cookies are a melding of two classic flavors…with a little luck of the Irish thrown in.  McCormick® created a great chart that offers tips on tinting your baked treats the perfect shade of green (believe me, this is a cake decorator’s best friend!) Colorful and flavorful, these soft and chewy cookies delight both the eyes and the senses. Every good chef and baker knows that there’s much more involved in cooking than just taste! Thankfully, these cookies look, smell, taste, and even feel delicious!

IMG_9123

When I have little ones running underfoot, I imagine us working together on a batch of these cookies. While you probably don’t want your kids mixing the dough, they can certainly help you “mash-up” the chocolate and mint balls into one giant piece of cookie goodness. My niece and nephews couldn’t stop eating them (and us adults had a hard time stopping at two!) Add a scoop of vanilla ice-cream, and you have a great dessert to serve on Saint Patrick’s Day.

Mint Chocolate Mash-Up Cookies

Chocolate Dough
1/2 cup (1 stick) unsalted butter, softened to room temperature
1/2 cup sugar
1/2 cup light brown sugar
1 large egg
1 cup all-purpose flour
1/2 cup unsweetened cocoa powder
1 teaspoon baking soda
1/2 teaspoon salt

Mint Dough
1/2 cup (1 stick) unsalted butter, softened to room temperature
1/2 cup sugar
1/2 cup light brown sugar
1 large egg
1 teaspoon McCormick® Pure Peppermint Extract
50 drops (or 1 teaspoon) McCormick® Green Food Color
1 1/2 cup all-purpose flour
1 teaspoon baking soda
1/2 teaspoon salt

1. To make Chocolate Dough: beat together butter, sugar, and brown sugar until light and creamy, about 3-5 minutes. Add in egg and beat until well combined. Set aside. In a small bowl, whisk together flour, cocoa powder, baking soda, and salt. Fold these dry ingredients into your butter-sugar mixture. Stir until dough comes together. Move to a storage container or plastic bag and allow dough to chill for 1-2 hours.

2. To make Mint Dough: beat together butter, sugar, and brown sugar until light and creamy, about 3-5 minutes. Add in egg, Pure Peppermint Extract, and Green Food Color. Beat until green and well-combined. Set aside. In a small bowl, whisk together flour, cocoa powder, baking soda, and salt. Fold these dry ingredients into your butter-sugar mixture. Stir until dough comes together. Move to a storage container or plastic bag and allow dough to chill for 1-2 hours (basically the same as the chocolate dough…just more color and flavor!)

3. After dough is thoroughly chilled, preheat your oven to 350 degrees Fahrenheit.

4. To “mash-up” cookies: take about 1-2 tablespoons of chocolate dough and form into a ball. Repeat process with mint dough. Mash the two balls together and roll into one large ball of cookie dough. Place on a parchment-lined baking sheet.

5. Bake for 8-10 minutes, or until cookies look just slightly underdone. Remove from oven and allow to cool completely on cookie sheet before removing to a wire rack.

Monet

Anecdotes and Apple Cores

Very Best Challah

IMG_9043

Hard to believe that Lucille Amelia is nearly 14 inches long. That is, until I feel her strong kicks on the right side of my stomach. She’s most active in the mornings and evenings, and she’s especially fond of all things sweet: apples, bananas, and grapefruit. My stomach grows and stretches daily. It’s fascinating to observe what a difference 48 hours can make! Last night, as I stood in front of my full-length mirror, I marveled at the curves and changes in my body. How I had gone from stick-thin Monet to this woman with a round and beautiful pregnant body.

IMG_9050

My appetite has also been growing steadily. I discovered a new pregnancy craving last week: honey wheat bagels with thin slices of provolone cheese (toasted, of course). I’ve been eating my bagel and an apple with peanut butter before going to bed (which isn’t a small meal in the least) but for the past three nights, I’ve wanted to eat not one, but two of those honey wheat bagels with cheese! I just can’t seem to get enough food!

I’ve only gained about 9 pounds during my pregnancy (which seems shocking considering how large my stomach has grown) so I’m listening to my body and eating two bagels whenever I feel the urge.

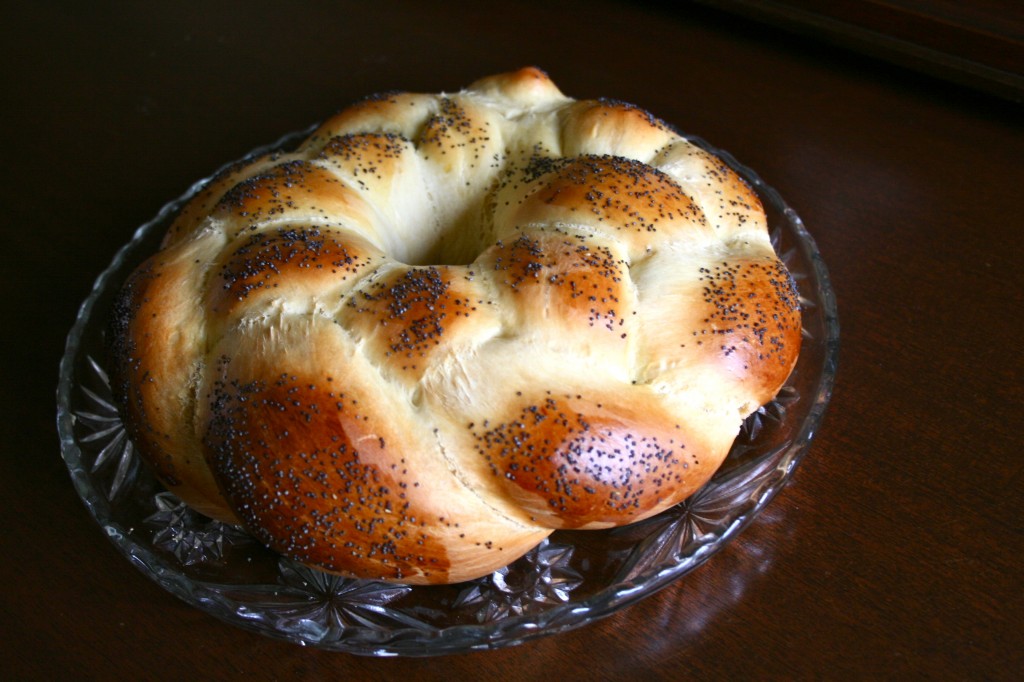
And recipes like this challah bread have also been whetting my appetite. On Monday, I made a big batch of homemade chicken soup, which was perfect for the cold weather we’ve been having in Colorado this week. Two loaves of challah bread rounded out our meal.

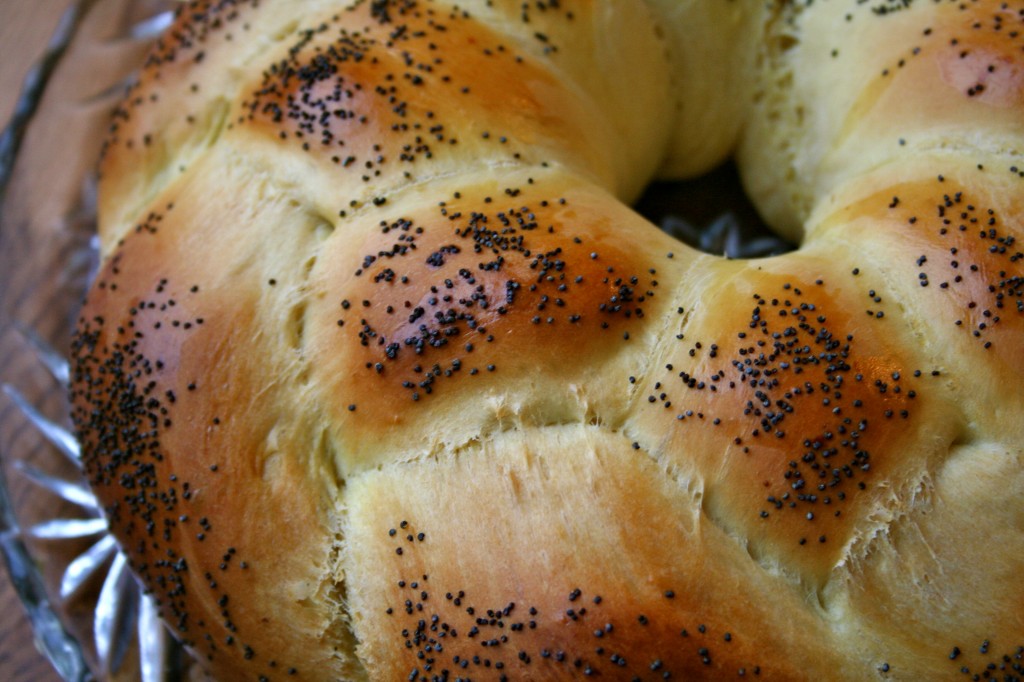
I’ve experimented with several different challah bread recipes over the past few years, but I can wholeheartedly admit that this one is my favorite. Many challah bread recipes call for egg yolks, instead of the whole egg, which is not only more time-consuming, but wasteful too. This recipe calls for four whole eggs (Praise the Lord), a 1/4 cup of honey, and a generous sprinkle of poppyseeds. Even better, the dough rises beautifully and is pleasant and cooperative during braiding.

IMG_9041

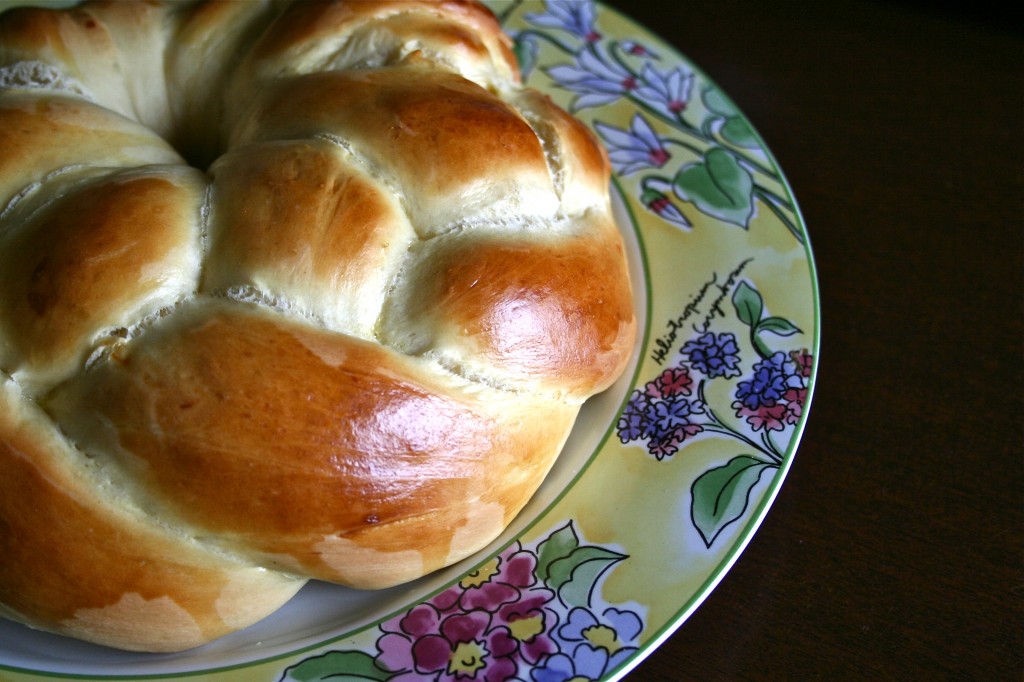
But we all know the real test comes at first bite. This dough is light and airy, slightly sweet and full of flavor. Ryan enjoyed this challah bread for dinner…and for breakfast the next morning. Neither one of us could get enough. This recipe would be perfect for a dinner party or to serve during Easter weekend. It presents beautifully and tastes even better. So make what I’m calling the “best challah bread” and invite a few friends over to tear into its golden ring.

IMG_9031

Very Best Challah

Yields: two loaves

1 1/2 cups warm water

2 tablespoons active dry yeast

1/4 cup plus 2 teaspoons sugar

6 cups all-purpose flour

2 teaspoons salt

1/4 cup honey

2/3 cup canola oil

4 large eggs

Egg wash:

One egg yolk

One tablespoon water

One tablespoon honey

In a small bowl, combine 1 cup water, yeast, and 2 teaspoons sugar. Allow to sit until yeast begins to foam, about five minutes. Meanwhile, in the bowl of your stand mixer (or other large metal bowl) stir together flour, remaining sugar, and salt. Set aside.

In a medium bowl, whisk eggs with honey, oil, and remaining 1/2 cup warm water. Add both egg mixture and yeast mixture to flour. Using the dough hook on your stand mixer, knead for 7-10 minutes (alternately, knead by hand). Your dough should become smooth and elastic. Do not be alarmed if it sticks slightly to the bottom of the bowl.

Remove dough from bowl, kneading in additional flour if too wet, and place in a lightly oiled container (allow enough room for dough to double in size). Cover container with plastic wrap and allow to rise for 2 hours.

Divide two into two balls. Working on one loaf at a time, divide dough into three parts. Roll each part into a long, 16-20 inch rope. Join the three ropes together at the top and braid together dough. If desired, you can form a wreath with your braid, or you can simply bake as is. Place wreath or braid on a parchment lined baking sheet. Repeat the same process with the second ball of dough.

Allow your dough to rise for 20-30 minutes while you preheat your oven to 350 degrees Fahrenheit. Before baking, brush both loaves with egg wash. Bake for 30-35 minutes or until loaves are a deep and rich golden color. Allow to cool slightly before serving.

Monet

Anecdotes and Apple Cores

French Yogurt Cake

IMG_9015

As many of you know. Ryan and I went to Paris, France last summer. We ate and drank our way through the city, and I’m so grateful we had the opportunity to visit Europe not once, but twice, before having our first child. That being said, I found Paris to be a very child-friendly city. Everywhere we went, we saw well-groomed children in tow behind well-groomed parents. Supremely well-behaved, these french little ones were accustomed to museum visits and four-course dinners by the age of five.

Oh America, we have so much to learn.

IMG_8992

Ryan and I have talked about taking Lucy to Paris sometime this fall (oh Ryan and Monet, you have so much to learn!) And we might be able to pull off a trip come November or December. But if I’m learning anything as I prepare for the birth of our first daughter, it’s that parenthood is an entirely new adventure and will be far different than even the most diligent parents can plan for.

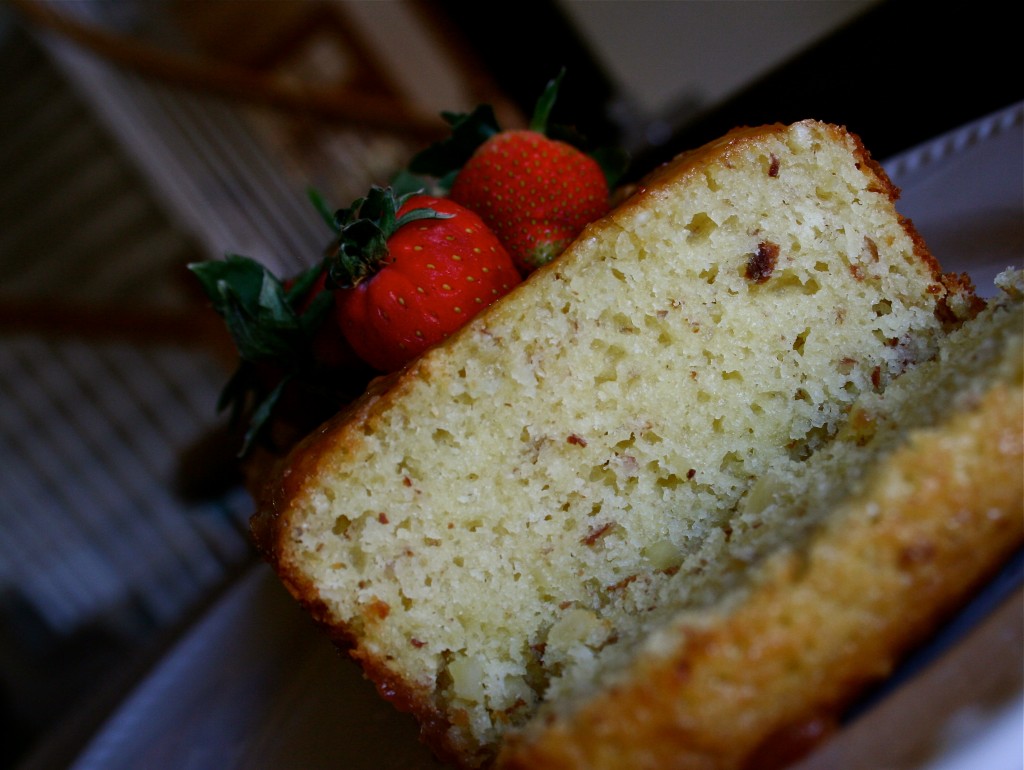
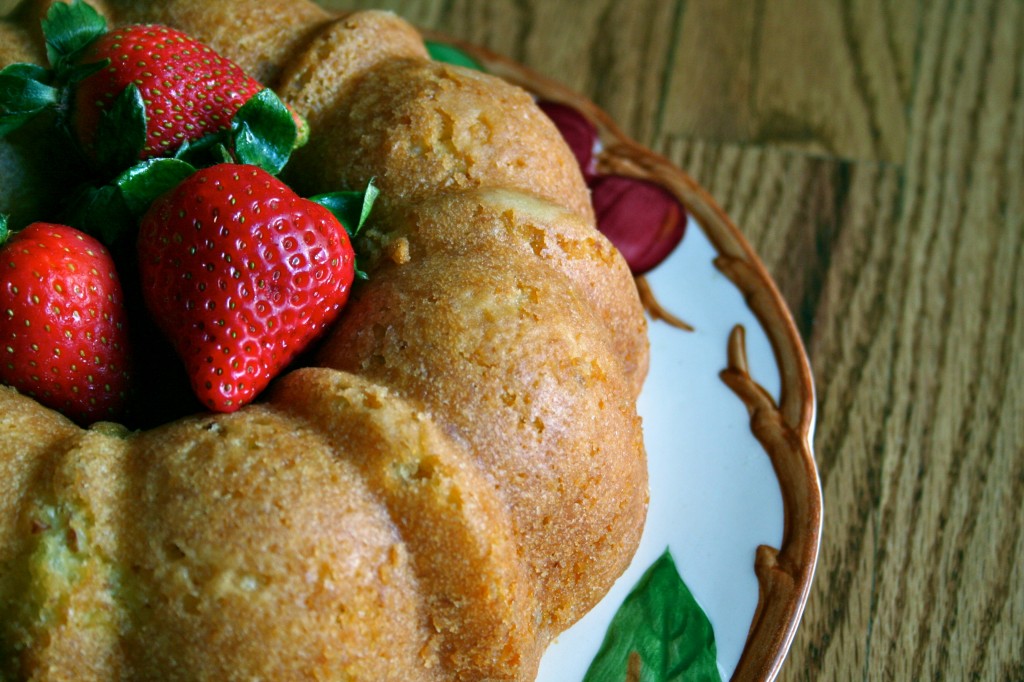
So as of now, we’ll put Paris aside until we have a few months of newborn care under our belt. Instead, we’ll visit our favorite bakery in Colorado Springs for an almond croissant, and I’ll make a batch of this French Yogurt Cake every few weeks. Most Parisians don’t have an oven in their kitchen (no need with ample bakeries and no space with those tiny studio apartments). But if they do, this french yogurt cake is a recipe every boy and girl, man and woman knows how to pull off.

IMG_8979

“Leave the fancy desserts for the professionals, and give us something satisfying and simple to make for an unexpected house guest or a last-minute dinner party.”

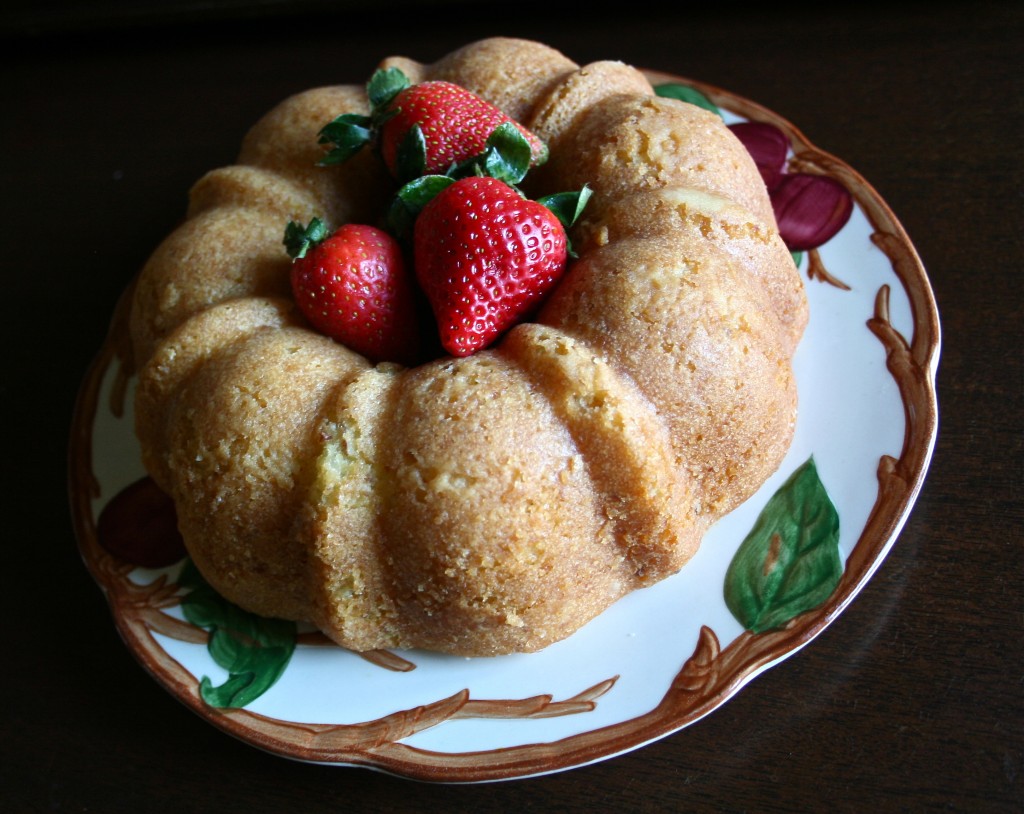
This french yogurt cake is most similar to an American pound cake. Thankfully, this recipe is far lighter than it’s American counterpart (surprise, surprise). Instead of four sticks of butter, this calls for whole-fat greek yogurt and vegetable oil. And while must standard pound cake recipes require at least two cups of sugar, this french yogurt cake asks for only one. And finally, ground almonds and almond extract add a lovely layer of texture and flavor. I brought this to my sister on Friday afternoon, and she texted me the next morning: I HAVE GOT TO HAVE THAT RECIPE. YOU COULD MAKE A FORTUNE.

Little did she know this cake is easy enough for a seven-year old to make.

On the baby front: thank you for all your insightful messages and conversations about hospitals versus birth centers versus home births. I learned so much from each of the stories shared. I’ll be writing a longer post about our own thought process on Thursday. So join back then!

IMG_9009

French Yogurt Cake with Strawberry Maple Sauce

*Adapted from a recipe from the New York Times

Cake:
1 cup all-purpose flour
1/2 cup ground almonds (or, if you’d prefer, omit the almonds and use another 1/2 cup all-purpose flour)
2 teaspoons baking powder
Pinch of salt
1 cup sugar
Grated zest of 1 lemon
1/2 cup plain yogurt
3 large eggs
1/4 teaspoon pure vanilla extract
1/2 cup flavorless oil, such as canola or safflower

Strawberry Sauce:
1 pound strawberries, hulled and sliced
2 tablespoons maple syrup
1 small lemon

Center a rack in the oven and preheat the oven to 350 degrees Fahrenheit. Generously butter an 8 1/2-x-4 1/2-inch loaf pan or a small bundt pan Set aside.  Whisk together the flour, ground almonds, baking powder and salt in a small bowl.

Place the sugar and zest in a medium bowl and, working with your fingers, rub the zest into the sugar untilmoist and aromatic. Add the yogurt, eggs and vanilla to the bowl and whisk vigorously. Still whisking, stir in the dry ingredients, use a large rubber spatula and fold in  oil. You’ll have a thick, smooth batter. Scrape the batter into the pan and smooth the top.

Bake 35 to 40 minutes for the round cake or 50 to 55 minutes, or until the cake begins to come away from the sides of the pan; it will be golden brown and a knife inserted into the center of the cake will come out clean. Transfer the pan to a rack, cool for 5 minutes, then run a blunt knife between the cake and the sides of the pan. Unmold and cool to room temperature right-side up.

Storing: Wrapped well, you can keep the cake at room temperature for at least 4 days and, like many pound cakes, it will be better one day later than it was the day it was made. If you do not glaze the cake, you can wrap it airtight and freeze it for up to 2 months; glazed it’s best not to freeze the cake.

To Make Strawberry Sauce: In a medium saucepan, bring strawberries and syrup to a simmer over medium high heat. When warm, mash strawberries with a fork or potato masher. Squeeze cut lemon over mixture and heat till warm.

 Monet

Anecdotes and Apple Cores

Everything but the Kitchen Sink Muffins

IMG_8959

My “mama brain” has already switched on. I find myself more alert, more cautious. I’m driving slower down the interstate, and I’m making sure I get in at least four servings of both vegetables and fruit every single day. If I’m already feeling this protective over our little girl, I can’t imagine the feelings I’ll have on the first day I hold her. Motherhood is a mysterious and powerful journey, and just as my body is growing and stretching, I feel my soul expanding too.

Earlier this week, my friend and I shared a pot of coffee. This lovely woman also has a young daughter (born just this past Fall) and I’ve found comfort in having a friend who has walked a little further down the road of parenthood. When she welcomed me into her home, we immediately found ourselves in the kitchen. Shortly after pouring me a small cup of coffee (yes, I do drink and eat caffeine on occasion), she began making a batch of muffins. My kind of girl.

IMG_8963
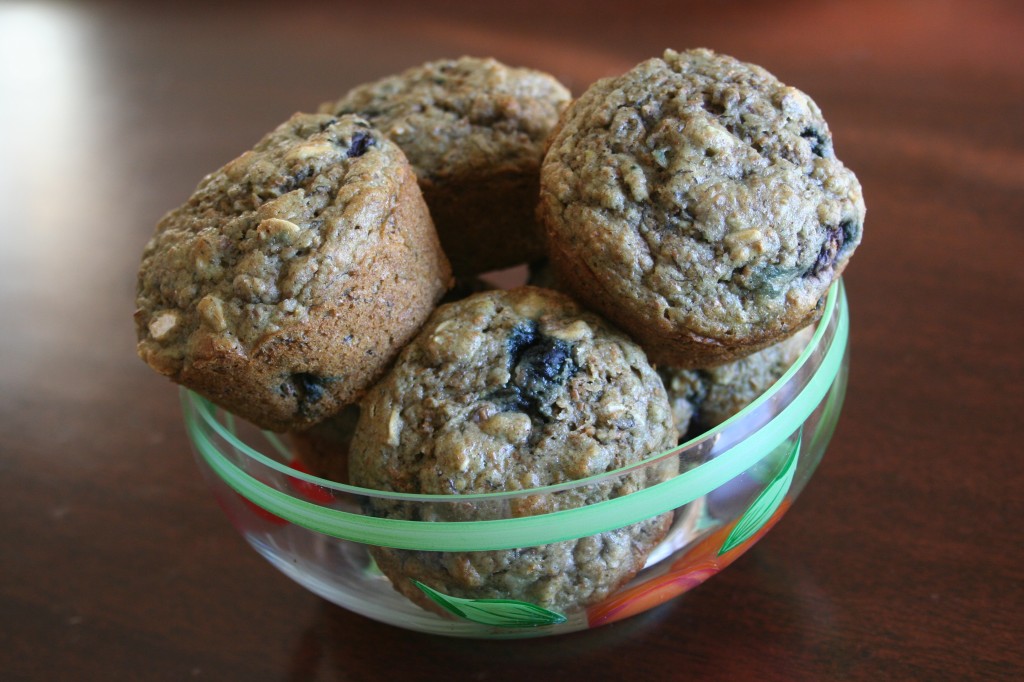
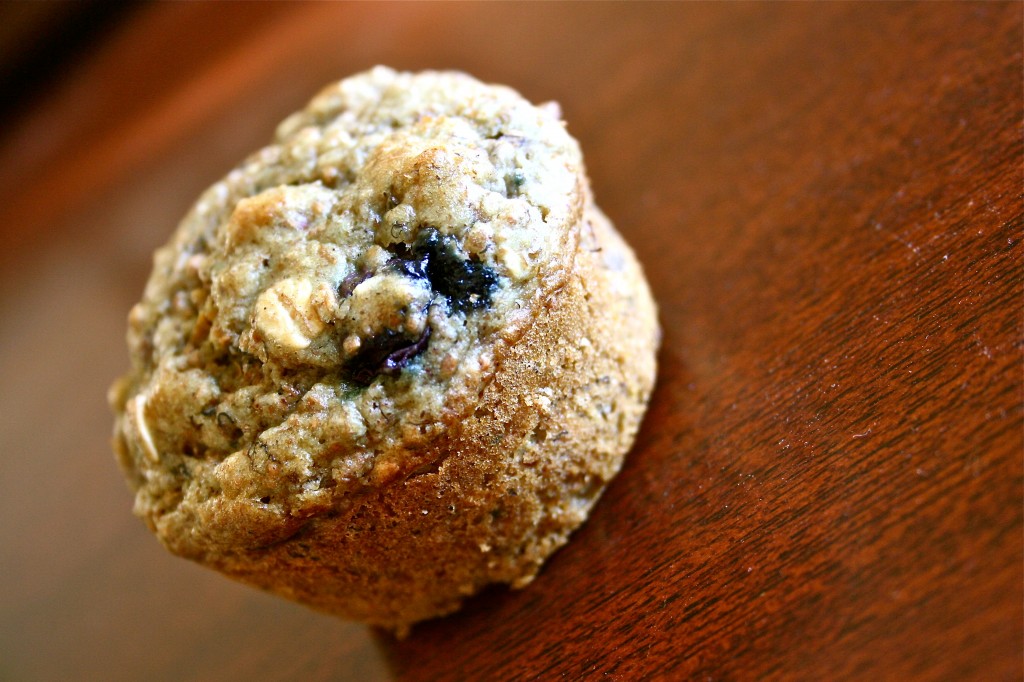
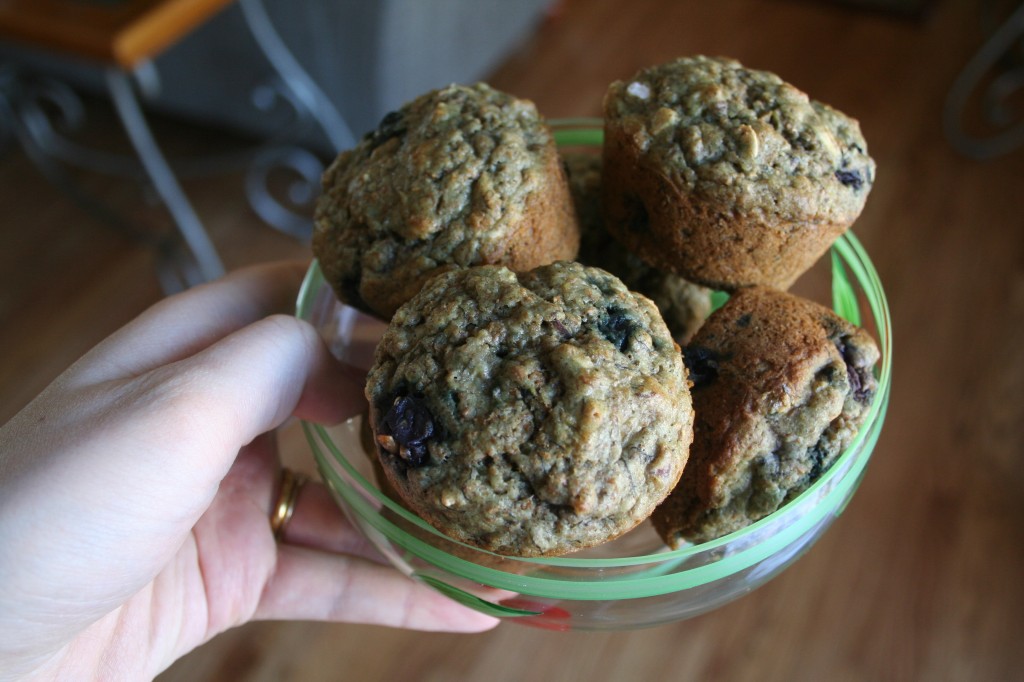
Being pregnant, I quickly latch on to new foods that satisfy my never-ending cravings. And I found that these muffins were a perfect pregnancy food. Moist and wholesome. Sweetened only by honey and full of oats and nuts. I didn’t feel guilty when I had another muffin a few hours later…and then another later that night. Sadly, I had only brought two home with me, so I knew I’d have to make my own batch as soon as I could.

I didn’t have my friend’s recipe in front of me, but I remembered the basic ingredients and decided to experiment. What resulted was a muffin full of most everything in my kitchen: ripe bananas, blueberries, toasted almonds, wheat bran, rolled oats, eggs, maple syrup, and butter. In other words, all the goodness of breakfast baked into a compact and domed muffin.

Ryan and I are tossing around the idea of giving birth at a birth center in Denver. We’re weary of the hospital (for many reasons I won’t list here) and we want to have as natural  and peaceful of a childbirth as possible. I’d love to hear your thoughts on birthing. Did you or someone you know have a good experience at a hospital? A birthing center? At home? There are so many choices available to us today (which can be both a blessing and a curse…especially if you’re indecisive like me!)

IMG_8969

Everything but the Kitchen Sink Muffins

1 cup wheat bran
1 1/2 cups whole wheat flour
1 teaspoon baking soda
1 teaspoon baking powder
1 teaspoon cinnamon
1 cup thinly sliced almonds
1 cup frozen blueberries
2 ripe bananas, mashed
1/3 cup maple syrup of honey
2 eggs
1/2 cup butter melted
1 cup milk
1 teaspoon almond extract

Preheat your oven to 400 degrees Fahrenheit. Grease with butter or oil a standard muffin pan. Set aside.

In a large bowl, whisk together wheat bran, whole wheat flour, baking soda, baking powder, and cinnamon. Fold in almonds and frozen blueberries.

In a smaller bowl, whisk together bananas, maple syrup, eggs, butter, milk, and almond extract. Gently fold wet ingredients into dry ingredients, mixing only until combined.

Divide batter evenly into muffins tins (they will be quite full) and bake in preheated oven f0r 15-20 minutes, or until a toothpick inserted in the center comes out clean. Allow to cool for five to ten minutes in pan before gently removing with a knife to a wire rack.

Monet

Anecdotes and Apple Cores