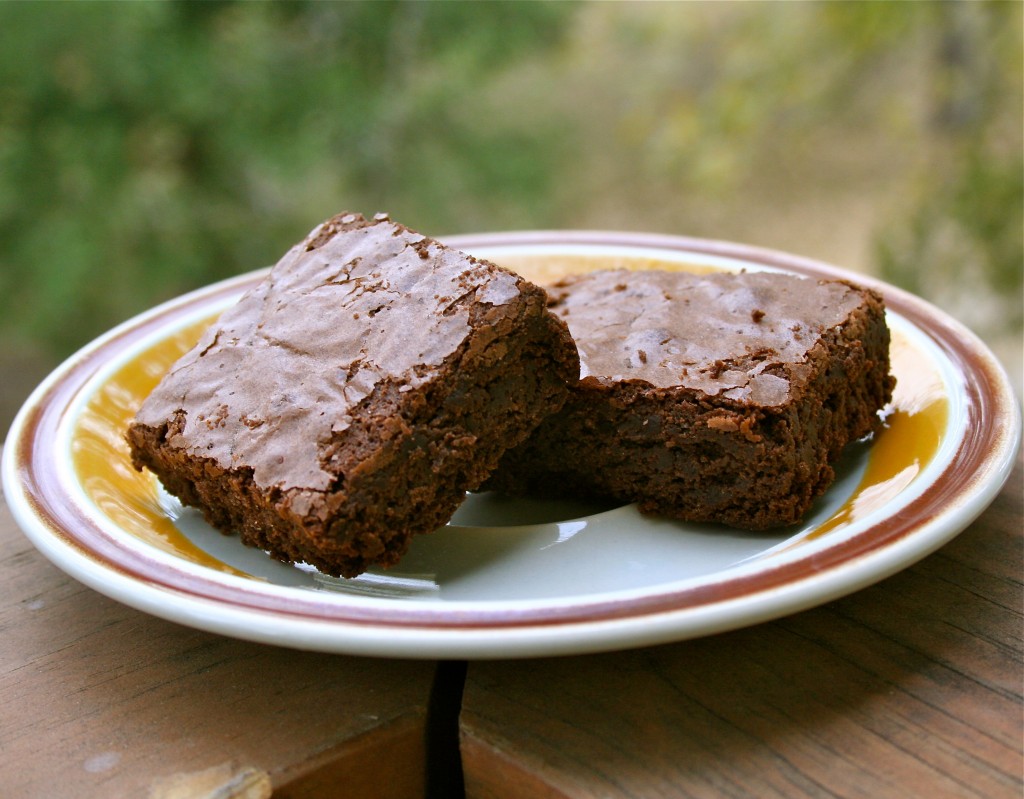
Grammy’s Brownies

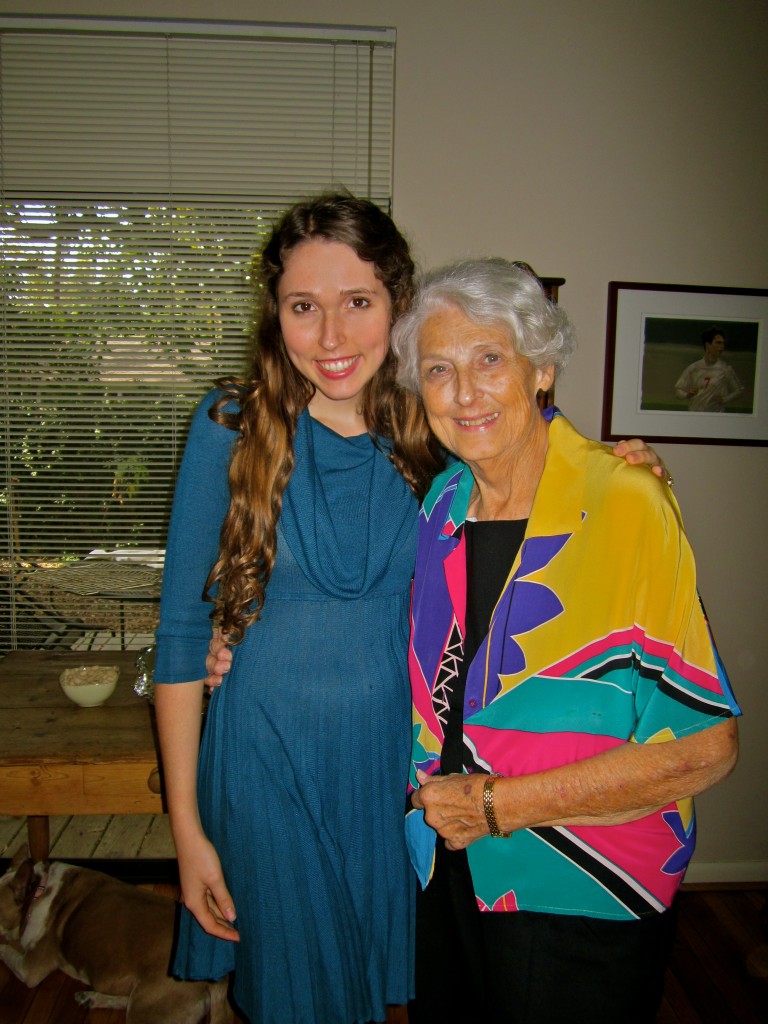
Thanksgiving was different this year. None of the traditional kitchen stars (ie. Aunt Sherry, myself, and Grammy) were feeling optimal. As some of you might remember, my grandmother suffered from a rare kidney disease earlier this year. In a matter of days, she lost complete function of her kidneys. In and out of the hospital for what felt like months, Grammy finally was able to go home, but with dialysis three times a week, she’s not able to do what she once did. And my sweet Aunt Sherry broke her hand, once again, in September. Even after surgery and therapy, her hand is not functioning correctly. And unfortunately, I was feeling pretty ill last week too!

So between the three of us, we had a lot of food to make and not a lot of energy to make it happen!

But when Thursday finally came, our table was full and my aunt’s house smelled like Thanksgiving. The turkey browned beautifully, and we had pies, stuffing, potatoes, green beans, homemade rolls, and a lot of love.

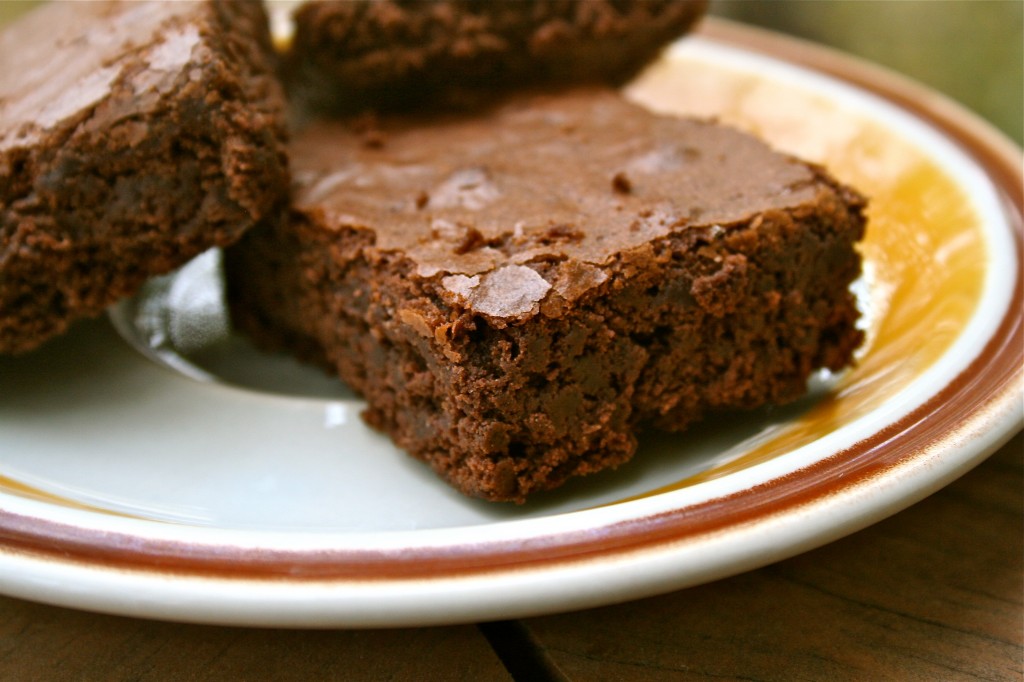
Although my Grammy couldn’t do much this year, she was able to make one of my favorite treats. Sitting on her kitchen counter, a plastic container filled with some of the most chocolatey and moist brownies I’ve ever tasted. Even though I wasn’t feeling well, those brownies were still just as delicious as I remembered them. And you better believe, I had a few helpings on the night before Thanksgiving (because you have to start the eating early in my family…there’s simply too much for one day!)

Now while this recipe might not be overly complicated, it doesn’t mean that these brownies taste anything less than perfect. Sometimes, the most simple recipes produce the best results. With our moving day fast approaching and a 16 hour drive to look forward to, I’ll be making another batch of these brownies soon. I’ll put a plastic container in our front seat. Ryan and I will munch on brownies as we say goodbye to Texas and welcome colorful Colorado back into our lives.

I can’t wait.

Grammy’s Brownies

1/2 cup (1 stick) butter, cut into pieces

1 1/4 cups sugar

3/4 cup unsweetened cocoa (Hershey’s brand)

1/2 tsp salt

1 tsp vanilla extract

2 eggs

1/3 cup all-purpose flour

1. Preheat oven to 325 degrees F. Line an 8×8 pan with foil, leaving a two inch overhang. Coat foil with vegetable spray.

2. Melt butter in a small pan over medium heat. Whisk together sugar, cocoa, and salt in a medium bowl. Pour butter into dry ingredients, whisking to blend. Stir in vanilla. Add in eggs, one at a time, beating after each addition. Fold in flour and stir until just combined. Scrape batter into prepared pan.

3. Bake until top begins to crack and toothpick inserted into the center comes out with a few moist crumbs, about 25 minutes. Transfer to a wire rack and allow to cool in pan. When ready to serve, use foil overhang to life brownies out of pan. Cut into square and enjoy.

Monet

Anecdotes and Apple Cores

Holiday Wheat Rolls

Thanksgiving is fast approaching, and if you’re like me, no holiday is more tantalizing than the fourth Thursday in November. A chance to celebrate with friends and family over a table or buffet of carefully crafted food. Ryan and I are going to Houston to share Thanksgiving with my Aunt Sharon, her family, and my sweet Grammy and Papou. Grammy is the true inspiration of all my baking. And I can’t wait to make pies with her on Wednesday and to sample, once again, her famous dressing recipe.

The visit will be bittersweet though. Ryan and I are moving home to Colorado in….THREE weeks. This return home has been long-anticipated. Austin has been a wonderful place, and we’ve made some beautiful friends, but when I think about Colorado (my parents, my sister, Ryan’s family, and so many friends), I can’t help but feel like I need to return to where I belong. That doesn’t leaving Texas is easy. I’m sure the next few weeks will be emotional ones for us. And certainly this Thanksgiving, with my grandparents, will be both good and hard.

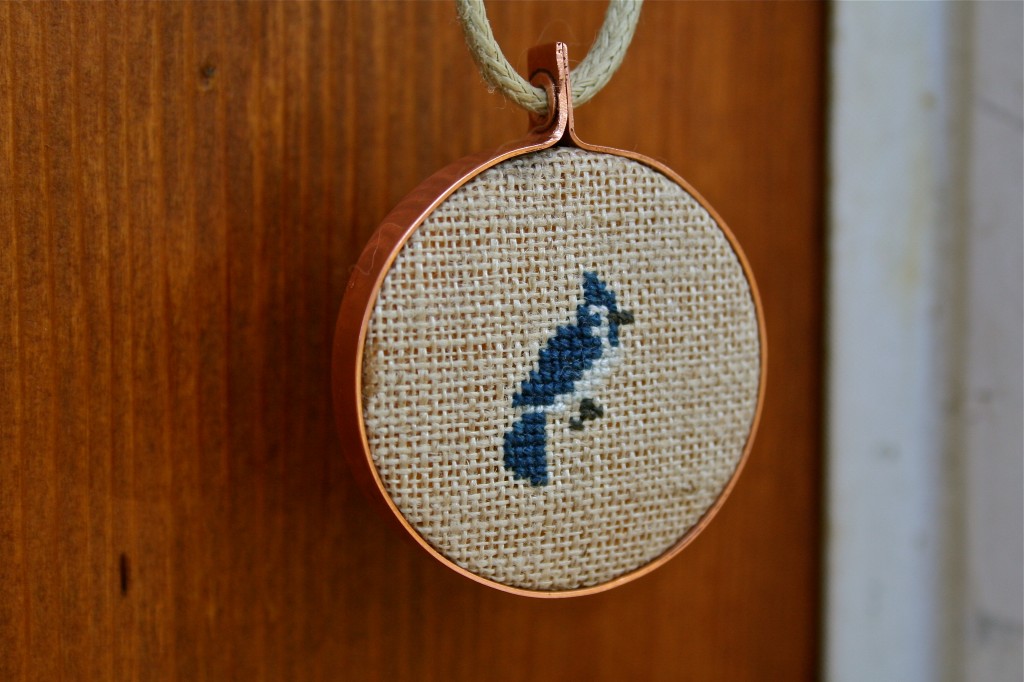
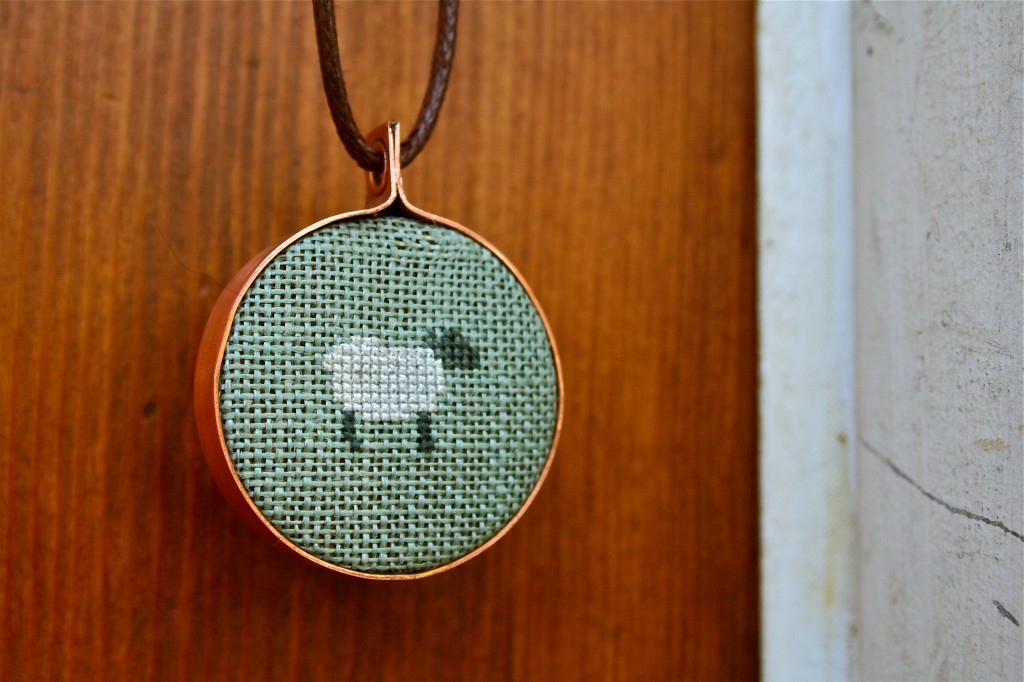
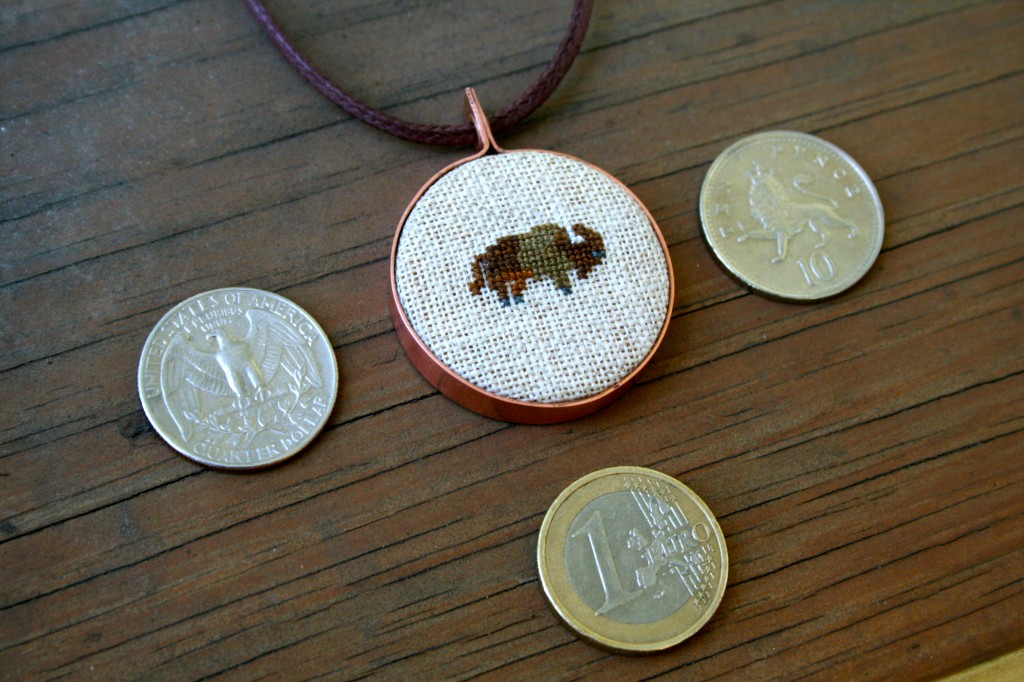
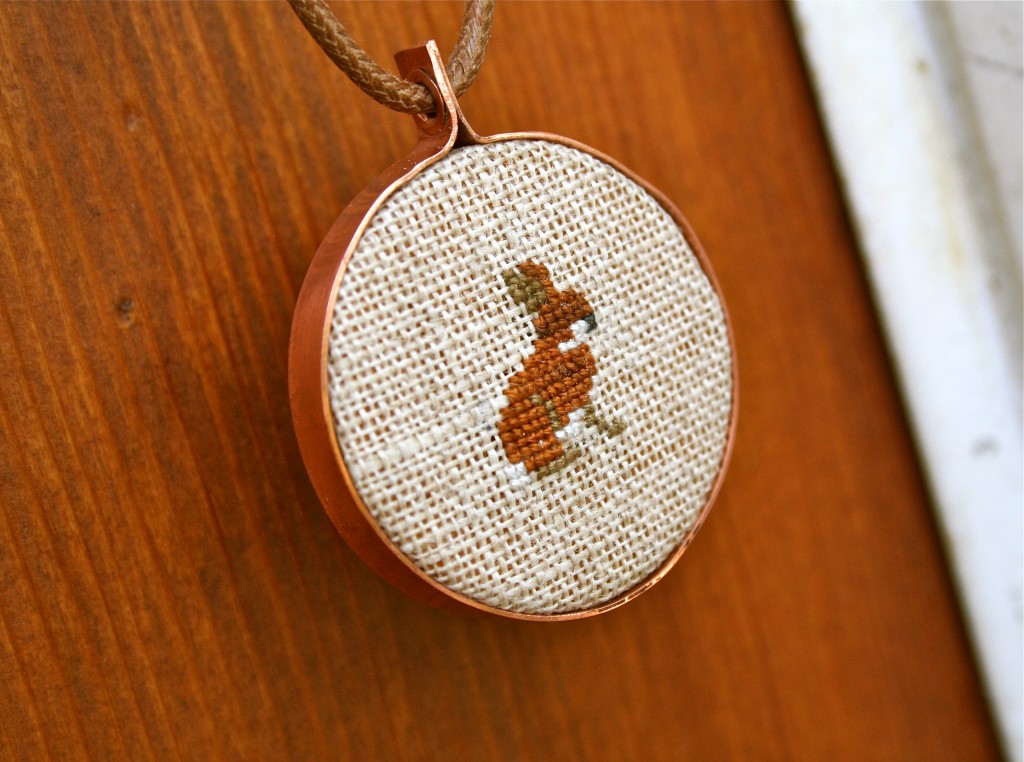
As most of you know, Ryan and I tend to be busy people. In the midst of the move, Ryan has another big event coming up. This weekend, his jewelry will be featured in Austin’s Renegade Craft Fair. Some of you might have seen his work, but I wanted to take the opportunity to highlight his beautiful cross-stitched pendants. Here is what Ryan says on Stitch and Saw’s website:

My name is Ryan Kulp, and I make jewelry and other fine goods in Austin, Texas. My interest in design began as a child. Like many other children of the 80′s, I spent afternoons designing and making friendship bracelets and beaded lizard key chains. Although I made a profit on those initial designs, I abandoned the craft of making to pursue more abstract concepts like Calculus, Physics, and Economics. After graduating from the Colorado of School of Mines with a B.S in Economics, I moved to Baltimore and then Austin with my wife, Monet Moutrie. A stint as a home security installer helped me reconnect to the joy that working with my hands brings. I took up cross-stitching on a whim, only to discover it was a perfect match for both my creativity and my love of the particular. After stitching a few larger pieces, I found my niche in creating small portraits of animals. Because my grandfather and father both worked with wood, I wanted my creations to reflect that heritage. I began salvaging fine woods from local cabinet makers and cutting out the wood discs that serve as the backs of my pendants. Each new pendant is designed and stitched by me. Using the very best materials and unique designs, I hope to create pieces that make people smile and reflect on the small things that make life beautiful.

So if you’re in Austin the weekend after Thanksgiving, come find Stitch and Saw at the Renegade Craft Fair. If you’re not, and you’d like to order a pendent, Ryan is still accepting holiday orders. You can find more information about ordering a necklace at his site. So while Ryan is busy with last minute preparations for the craft-fair, I’ll be in the kitchen making a few of my holiday favorites. These honey wheat rolls are a family classic. I made them here in Texas, and my little sister made a batch in West Virginia. Come Christmas, we’ll both be in the kitchen making another batch…together.

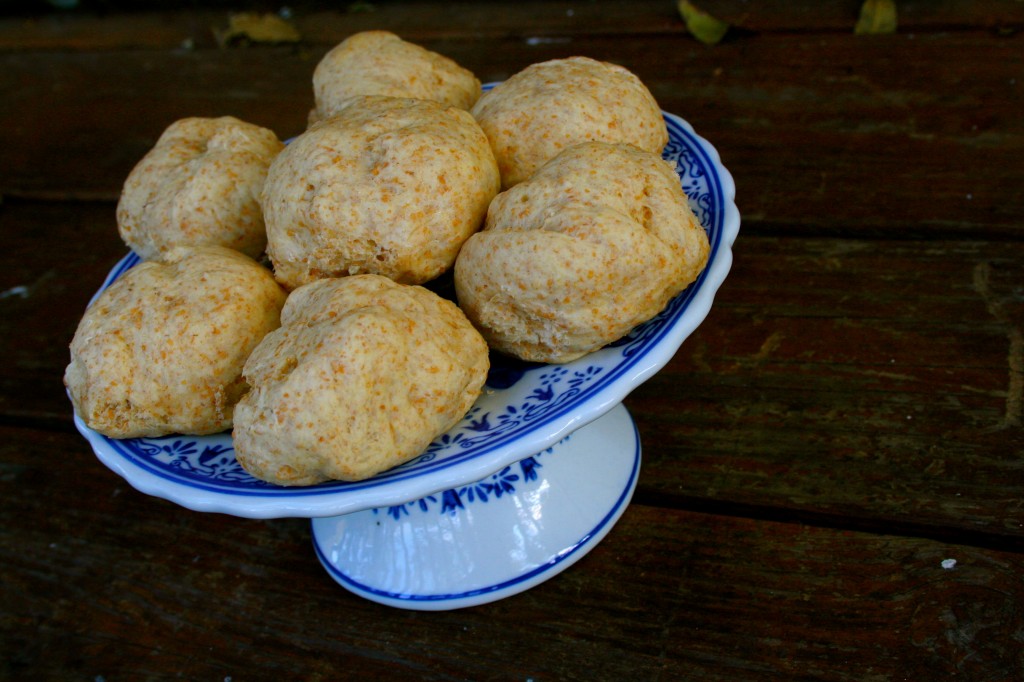
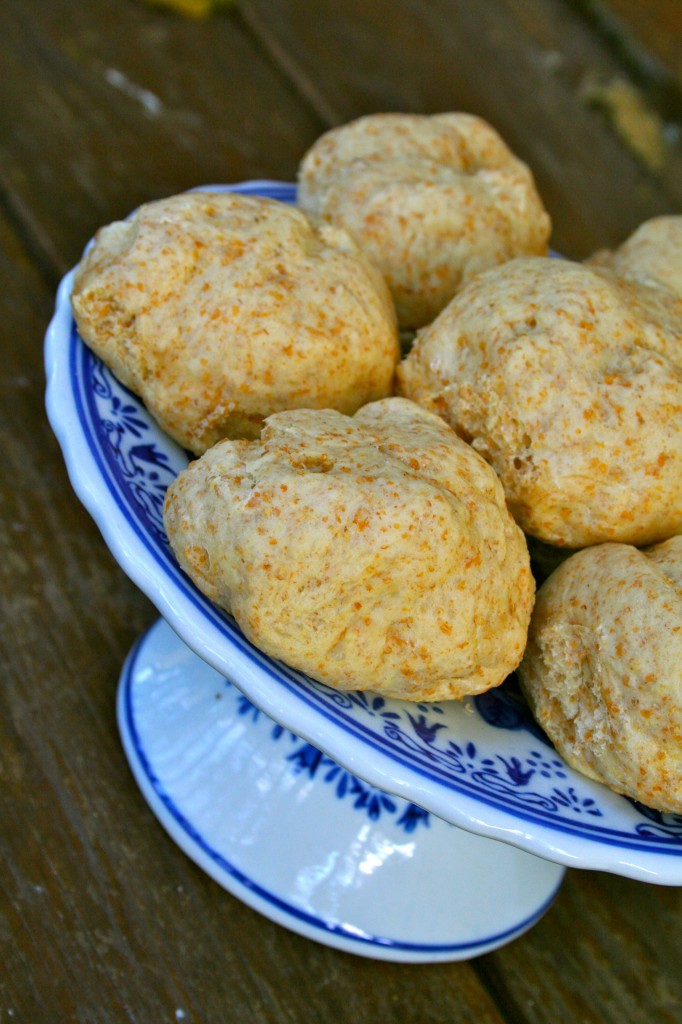
These holiday wheat rolls are sweet and wholesome. A step above the typical white Parker House rolls you often see on the Thanksgiving table (which are very good, mind you). They rise beautifully, which is always a plus for the beginning baker, and they make your house smell like freshly baked bread (forget a candle!).

I hope you enjoy them as much as we do. And I hope you all have a beautiful and safe Thanksgiving.

Holiday Wheat Rolls

2 Packages of Active Dry Yeast
1 3/4 cup warm water
1/4 cup honey
1 egg, beaten slightly
1 tsp salt
1/4 cup butter, melted and cooled
2 1/2 cups whole wheat flour
2 1/2 cups AP flour

*An optional 1/4 cup butter, melted, for topping the rolls after baking

1.In a large bowl, dissolve your yeast in the warm water and let sit for ten minutes or until creamy. Add honey, beaten egg, and melted butter into your yeast mixture.

2.  Mix whole wheat flour, all-purpose flour, and whole wheat flour into your yeast mixture.  If you have a Kitchen Aid Mixer, attach the dough hook and stir for 5-8 minutes.  If not, turn dough out into a lightly floured surface and knead until smooth and elastic (about 8 minutes).  Place in a lightly oiled bowl and cover with a damp towel (I like to stretch a rubber band around the rim of my bowl to ensure that the towel stays on).

3.  Let your dough rise in a warm place for about an hour or until dough doubles in size.  Punch down dough, cover, and let rise again (about 30 minutes).

4.  Grease or line two baking sheets with parchment paper. Divide dough into 2 ounce pieces. You can shape the dough however you like. Once divided, place on baking sheet and allow to rise, uncovered, for 30-40 minutes.

5.  Bake rolls for 10-12 minutes in a preheated, 400 degree F oven. Remove from oven and brush with melted butter.

Monet

Anecdotes and Apple Cores

Where Have I Been?

Where I have been? Since I started blogging a few years ago, I don’t think I’ve ever gone on such a long blogging hiatus. But rest assured friends, I’ve had good reasons. Some of which I can share with you today….some of which will be announced in a few more weeks! Change abounds in our household, and I’m eager for several new chapters to begin.

But over the past few weeks, I’ve been busy with wedding after wedding. Baking wedding cakes is no small-time affair, and I feel like I’ve had frosting in my hair for months. And I’ve also learned that while some brides are lovely to work with….others have drank one too many glasses of “this is all about me” champagne. I now know why the wedding business is such an expensive business. The customers can be demanding. But thankfully, almost all of my brides have been lovely. There is nothing better than working with a bride who carries herself with grace.

I have one more wedding near the beginning of December, and then I’m “off” for the foreseeable future. Ryan and I have some other exciting plans that will demand my attention. And I miss blogging too much! So you better believe I’ll be back here on a weekly basis. Just in time for the holidays too.

I hope everyone has a good weekend. Thanksgiving is just around the corner, so I’m sure we all have our share of baking to do.

Monet

Anecdotes and Apple Cores

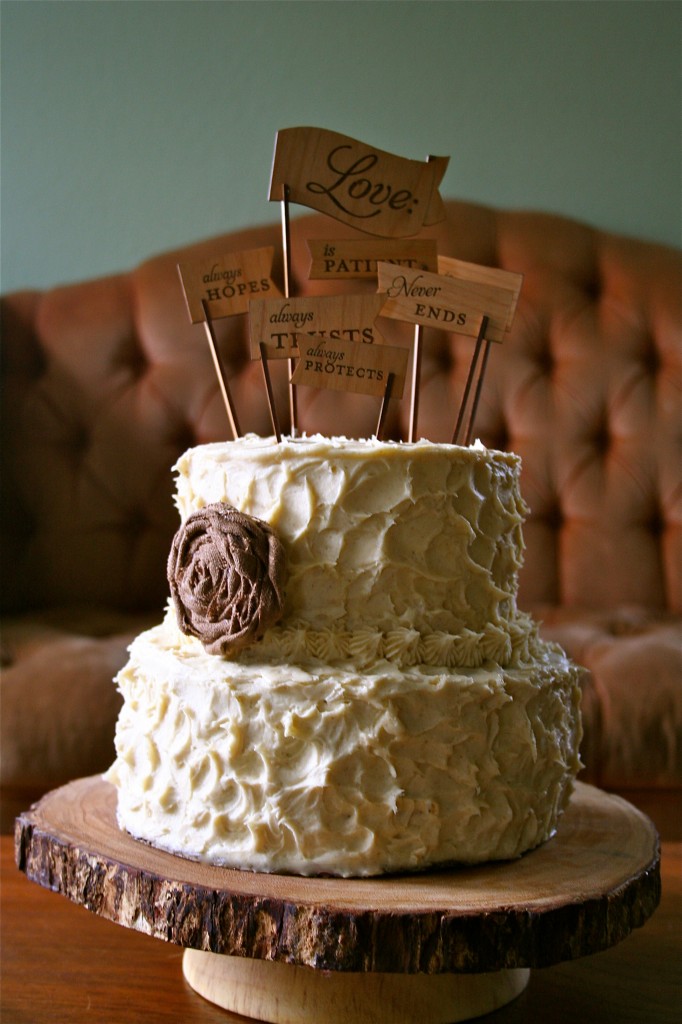
Rustic Wedding Cakes

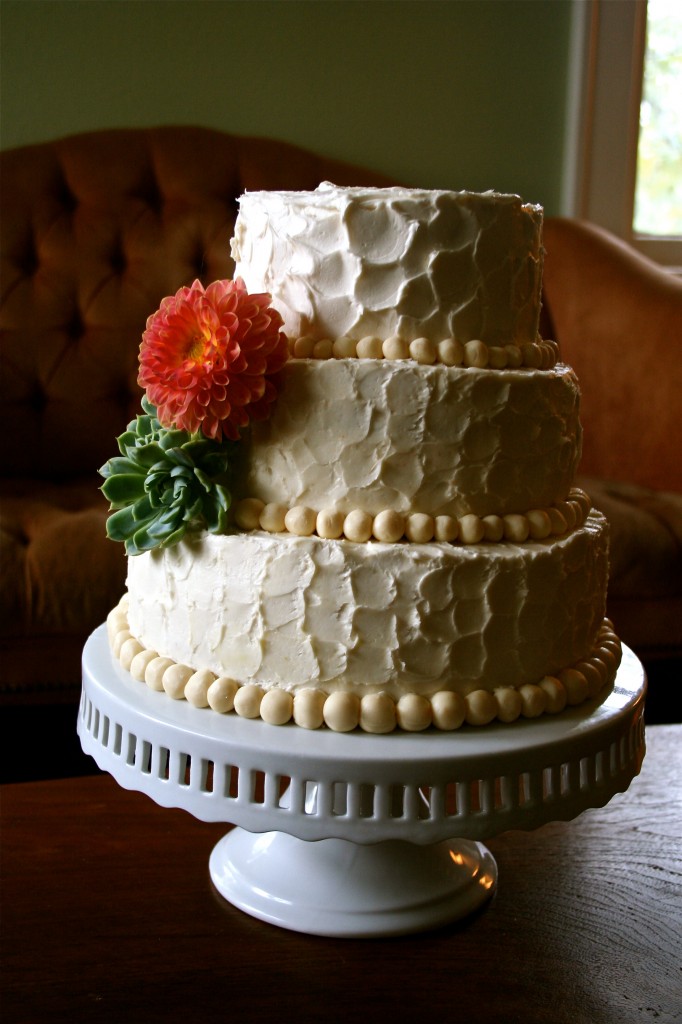
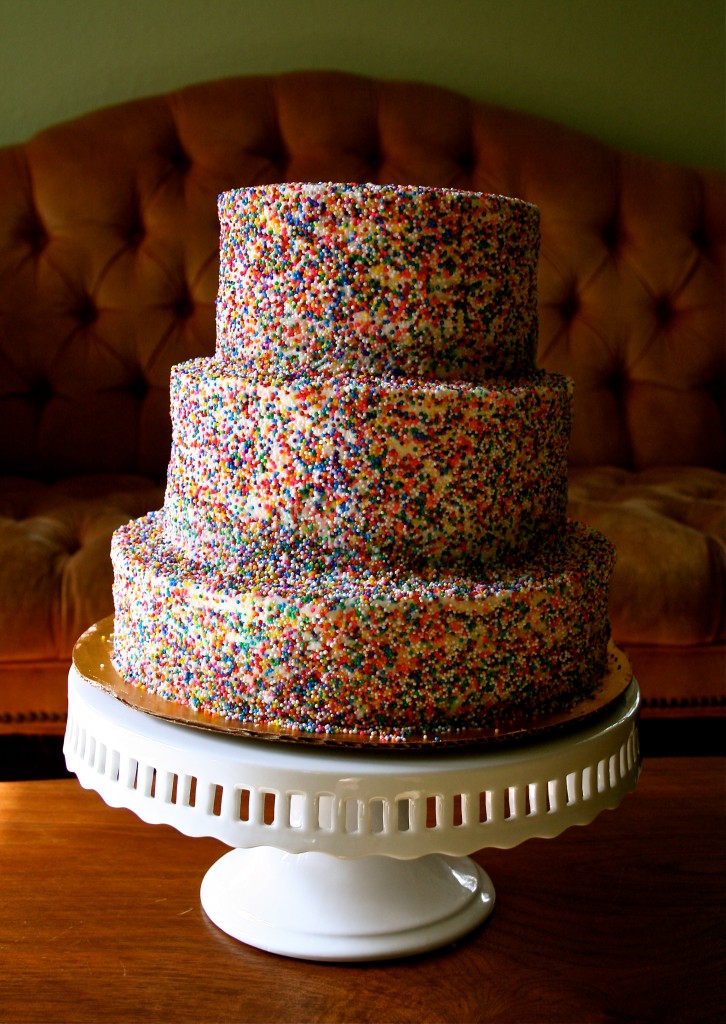
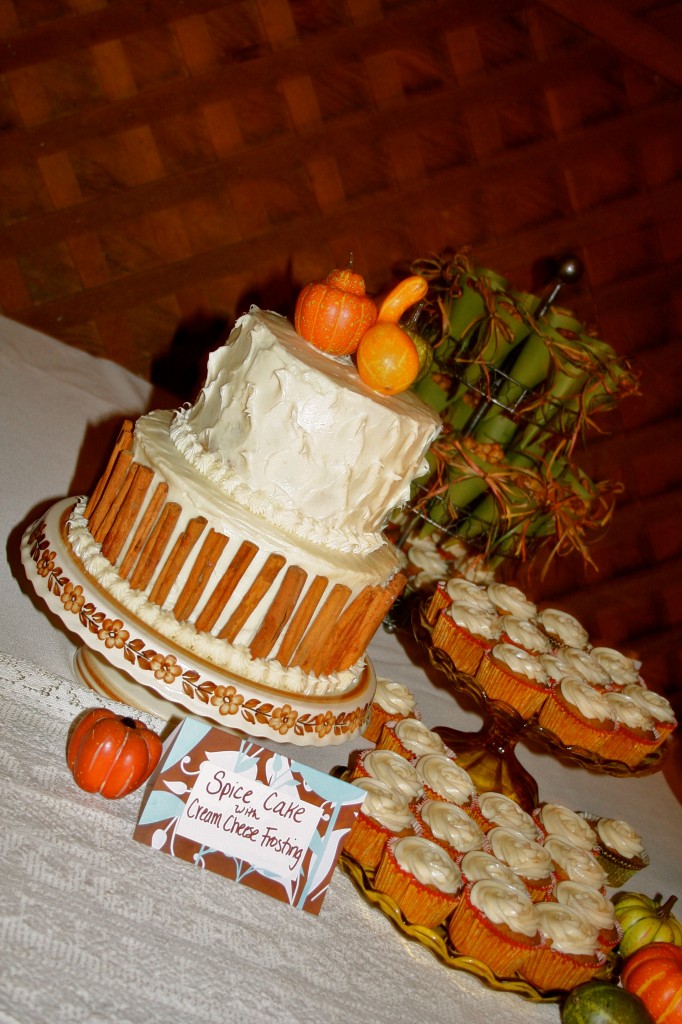
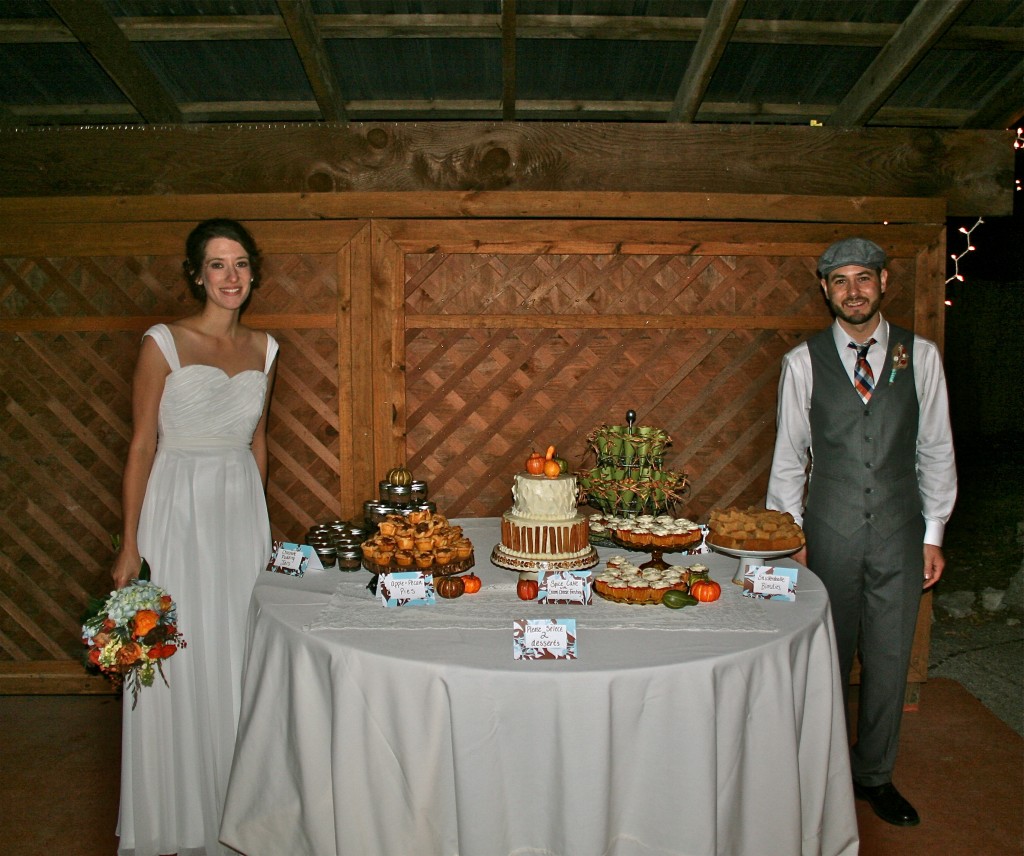
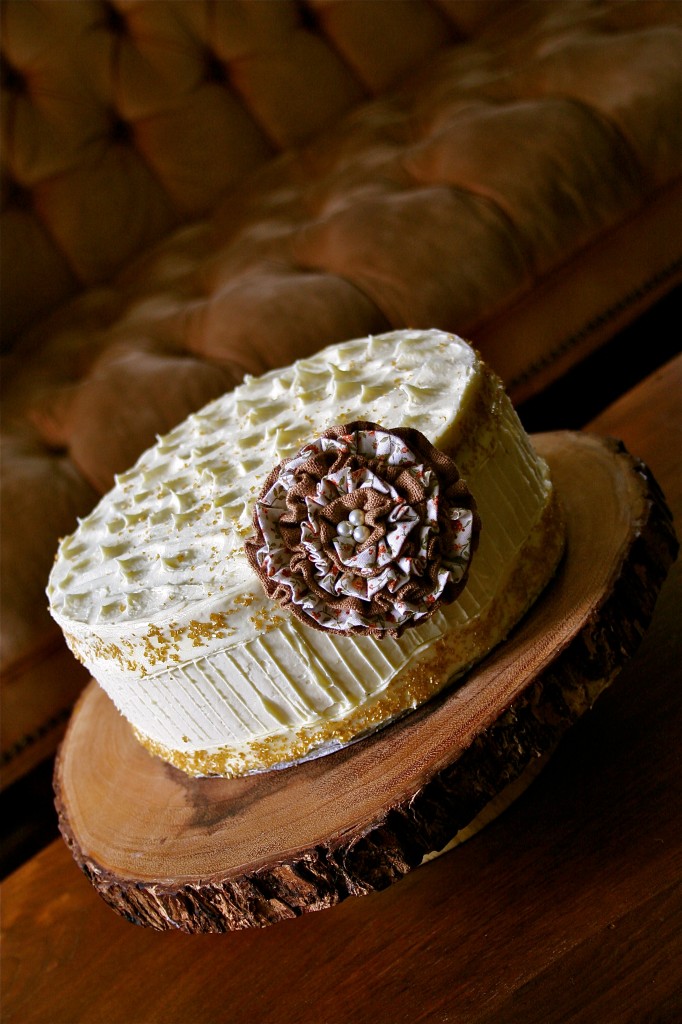
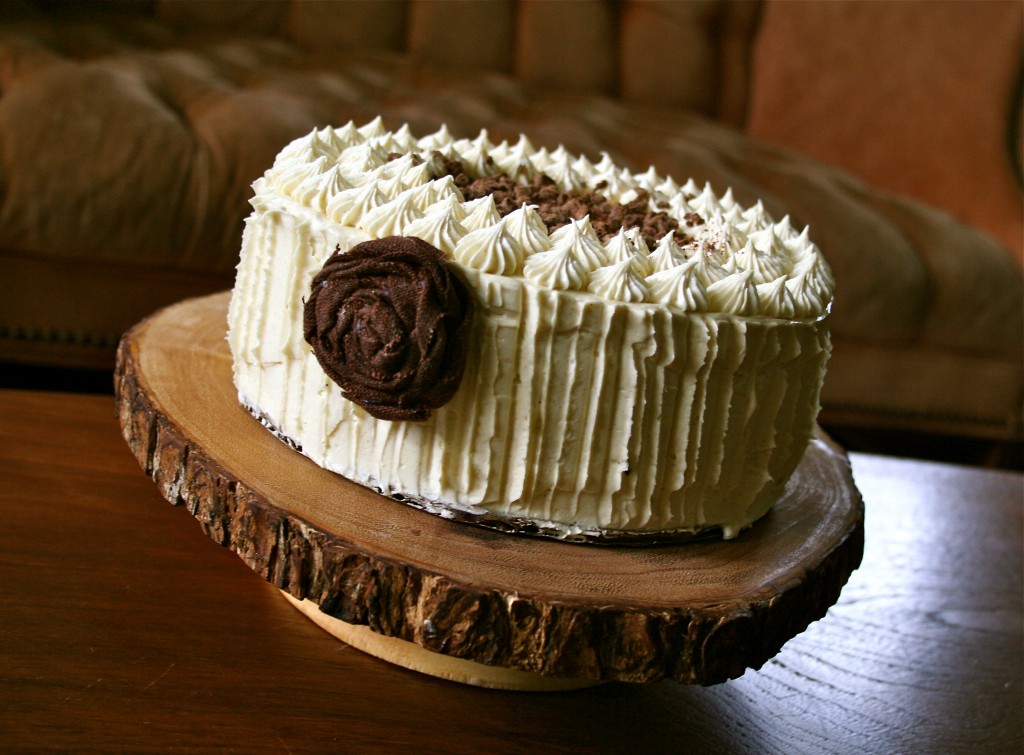
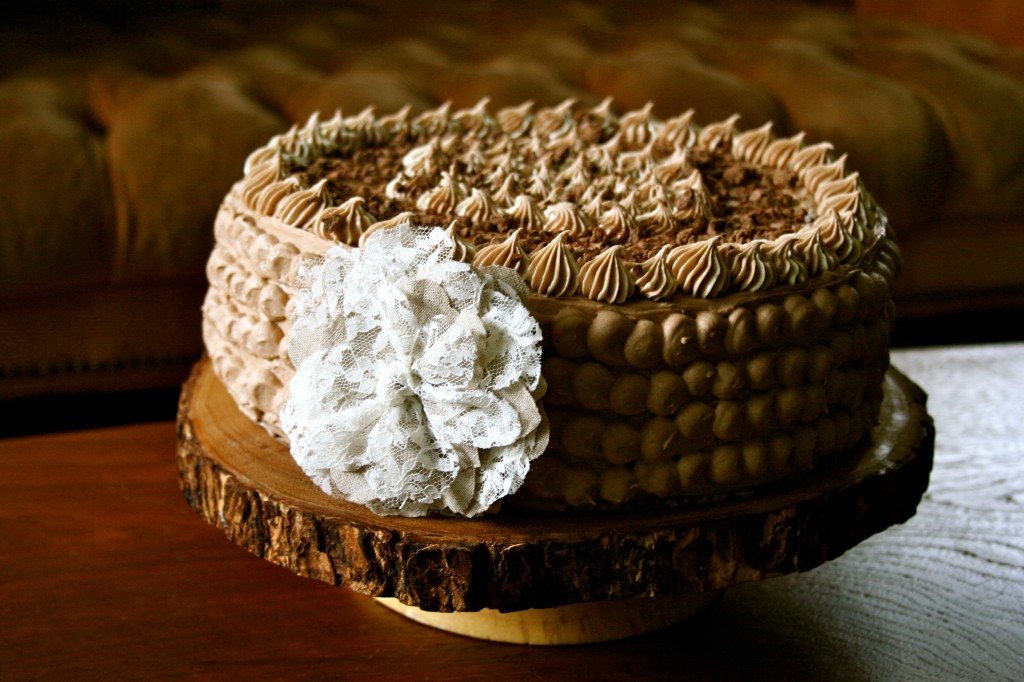
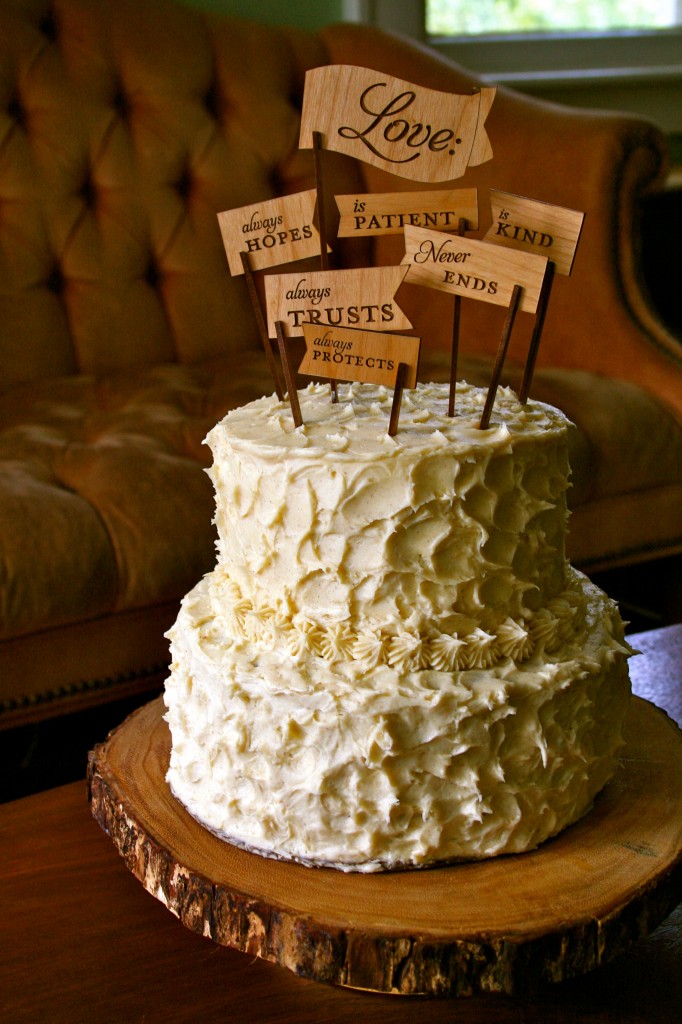
I had the privilege of making cakes for a beautiful bride and groom this weekend. I thought you might want to see a few pictures of the cakes they shared with their family and friends.

In other news: I’m busy and just a tad bit overwhelmed. So please forgive this sparse post. My verbose self will return soon.

Carrot Cake with Vanilla Buttercream. A hint of shimmer with gold glitter.

Chocolate cake with mocha filling and cinnamon coffee buttercream. Now doesn’t that sound good?

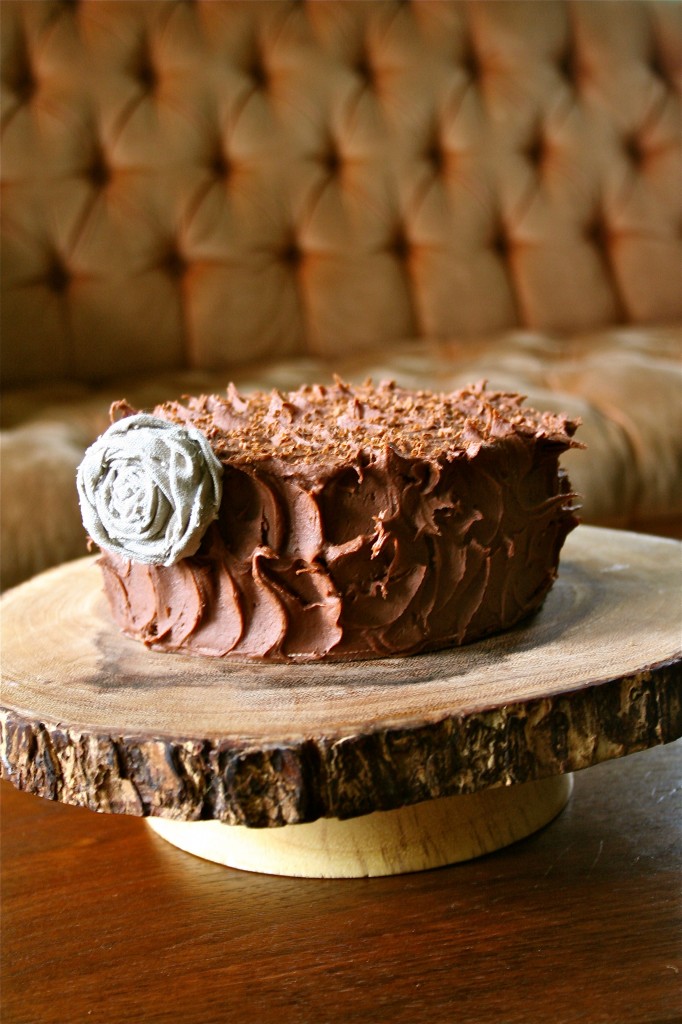
Chocolate Cake with Chocolate Ganache. A Classic.

Gluten-free Chocolate Cake

Snickerdoodle Cake with Cinnamon Buttercream. One of my favorites to make and enjoy.

Monet

Anecdotes and Apple Cores

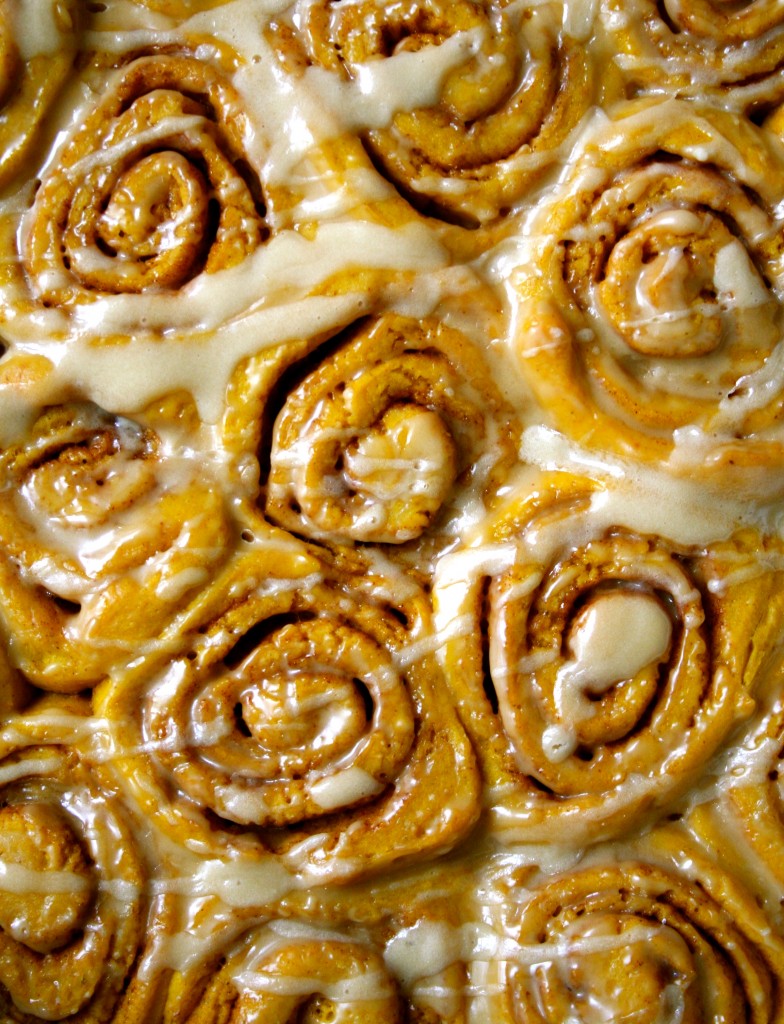
Pumpkin Maple Cinnamon Rolls

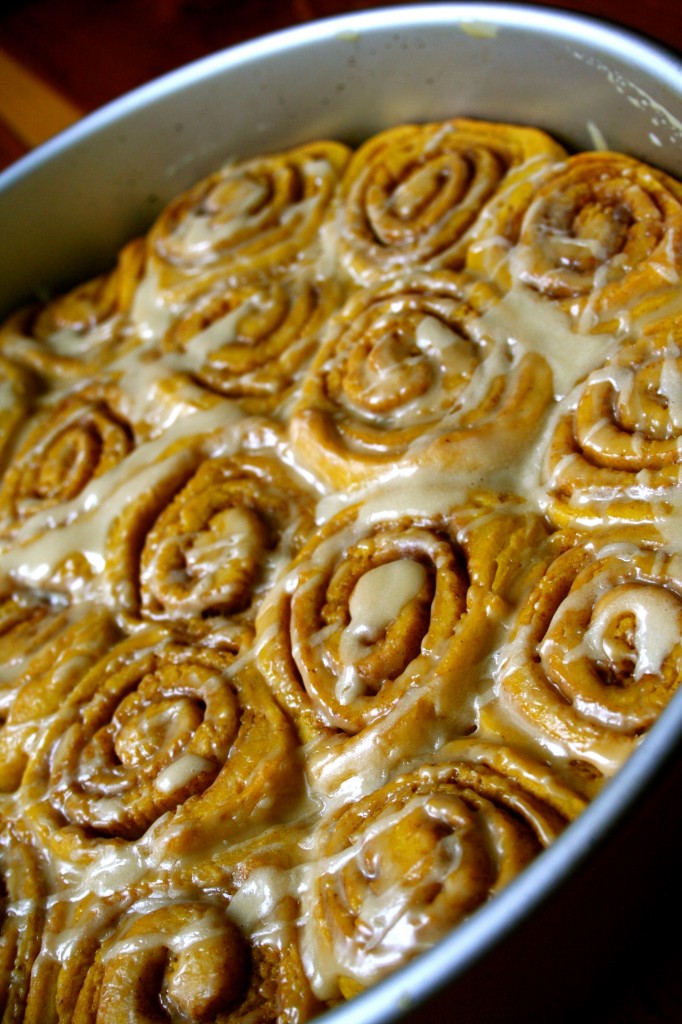
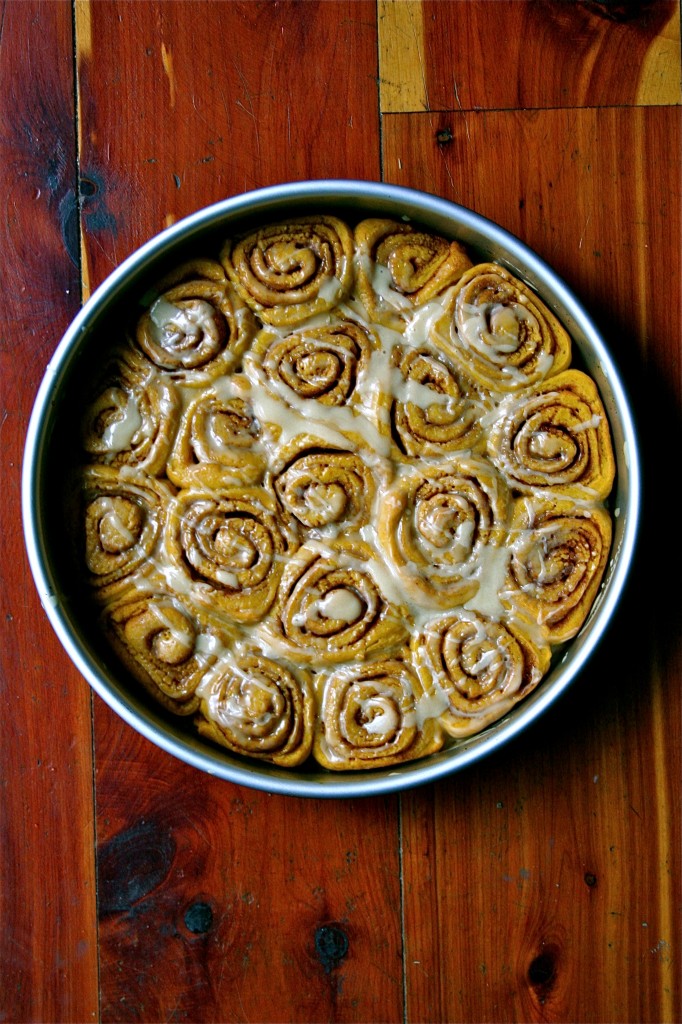
I had one of those days yesterday. Printer ran out of paper, then once restocked, it ran out of ink. Margot ran down the street, then peed on the carpet as soon as I took her upstairs. I felt sick to my stomach in the morning, and then my throat grew sore when I arrived on campus. UGH. But despite all this, I still made cinnamon rolls. And pumpkin cinnamon rolls at that. With a maple syrup glaze. Yes, I have interesting ways of coping with stress.

I baked these pumpkin cinnamon rolls for my fiction workshop (we potluck it, each Tuesday night), but then feared I might be doing more harm than good by passing out these rolls (and my germs) to the class. I tried to warn my colleagues, but they didn’t seem to care. The rolls were passed and most were devoured within the first fifteen minutes of our three hour class.

I typed most of this blog post during our one break last night, eagerly wanting to get home to watch the debates, make a cup of spearmint tea, and eat one or two more of these fall-inspired rolls. Because after the day I had yesterday, I felt like I deserved at least two cinnamon rolls.

I’m baking for a wedding this weekend, which means that my kitchen counters will soon be covered in cake pans, cardboard rounds, bowls for frostings, fillings, and other edible adornments. The days leading up to a wedding are a frenzy of activity, so I’m happy that I was able to sneak in one more recipe before the cake baking commences. I found this recipe on Smitten Kitchen, and it went off without a hitch. A great recipe to keep on file as fall holidays approach.

Pumpkin Maple Cinnamon Rolls

*From the always enviable Smitten Kitchen

Dough
6 tablespoons unsalted butter, to be divided
1/2 cup whole milk, warmed (but not over 116 degrees)
2 1/4 teaspoons active dry yeast (from 1 .25-ounce or 7 gram envelope yeast)
3 1/2 cups all-purpose flour, plus extra for rolling out
1/4 cup (packed) light or dark brown sugar
1/4 cup granulated sugar
1 teaspoon table salt
1/2 teaspoon ground cinnamon
1/4 teaspoon freshly grated nutmeg
1/8 teaspoon ground cardamom (optional)
1/4 teaspoon ground ginger
2/3 cups pumpkin puree
1 large egg
Oil for coating rising bowl

Filling
3/4 cup light or dark brown sugar
1/4 cup granulated sugar
1/8 teaspoon table salt
2 teaspoons ground cinnamon

Glaze
2 TBSP maple syrup
2 TBSP whole milk or heavy cream
2 cups powdered sugar, sifted
Few drops vanilla extract (optional)

1. Melt butter in saucepan. Set aside to cool slightly. Combine your warmed milk and yeast in a small bowl and set aside. After five to seven minutes, it should be a bit foamy. If it’s not, you might have some bad yeast and should start again with a newer packet.

2. In the bottom of the bowl of an electric mixer combine flour, sugars, salt and spices. Add just 1/4 cup ( leave the rest for assembly) of your melted and stir to combine. Add yeast-milk mixture, pumpkin and egg and mix combined. Switch mixer to a dough hook and run it for 5 minutes on low.

3. Scrape mixture into a large oiled bowl and cover with plastic wrap. Set aside for 1 hour in a draft-free place; it should just about double.

4. While it is rising, line the bottom of two 9-inch round cake pans with parchment paper and butter the sides of the pan and the paper.

5. Scoop dough onto a very well floured surface and flour the top of it well. With a rolling pin, roll the dough to an approximately 16×11-inch rectangle. Brush reserved melted/browned butter over dough. Stir together remaining filling ingredients and sprinkle mixture evenly over dough. Starting on a longer side, roll the dough into a tight spiral.

6. With a sharp serrated knife, using absolutely no pressure whatsoever (only the weight of the blade should land on the dough) gently saw your log with a back-forth motion into approximately 1-inch sections. When a soft dough like this is rolled, it tends to grow longer, which means that you’ll have the option to either make more buns (say, 18 instead of 16) or just cut them a little larger (in generous inches).

7. Divide buns between two prepared pans. You can sprinkle any sugar that fell off onto the counter over them. Cover each pan with plastic wrap and let rise for another 45 minutes. If you’re doing this ahead of time, you can now put them in the fridge overnight. In the morning, leave them out for an hour to warm up and finish rising.

8. 15 minutes before you’re ready to bake them, heat the oven to 350°F. Meanwhile, you can make the glaze. Beat your cream cheese until it is light and fluffy. Add powdered sugar and vanilla. Drizzle in milk until you get the consistency you’re looking for, either thick enough to ice or thin enough to drizzle.

9. Remove the plastic and bake buns for 25 minutes, until puffed and golden. Transfer pans to wire cooling racks and drizzle/schmear with maple syrup glaze.

Monet

Anecdotes and Apple Cores