Croissants

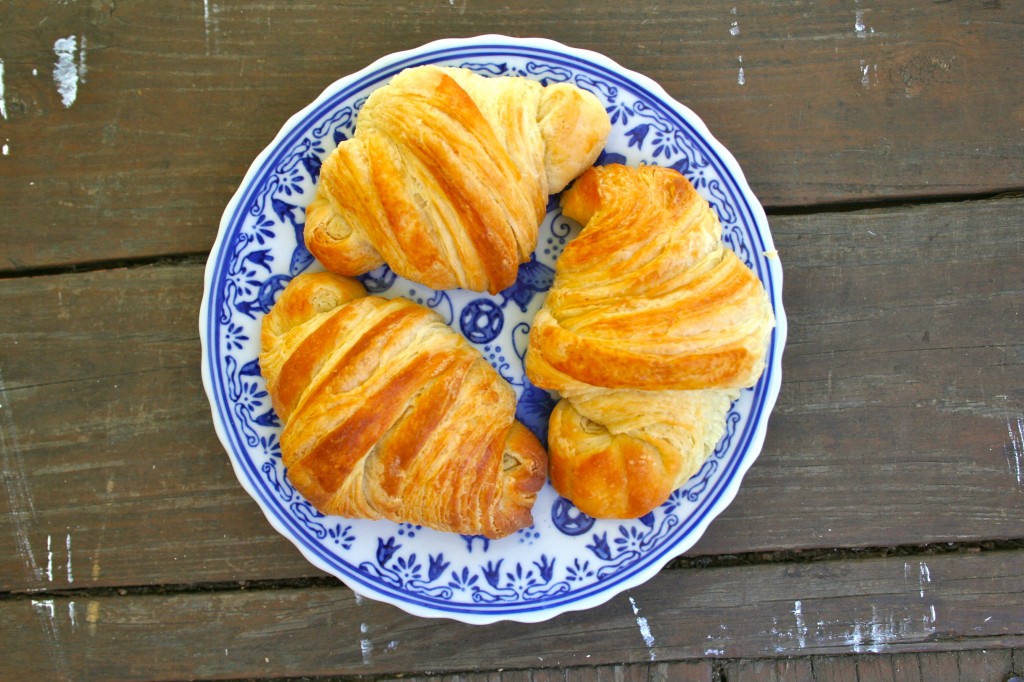
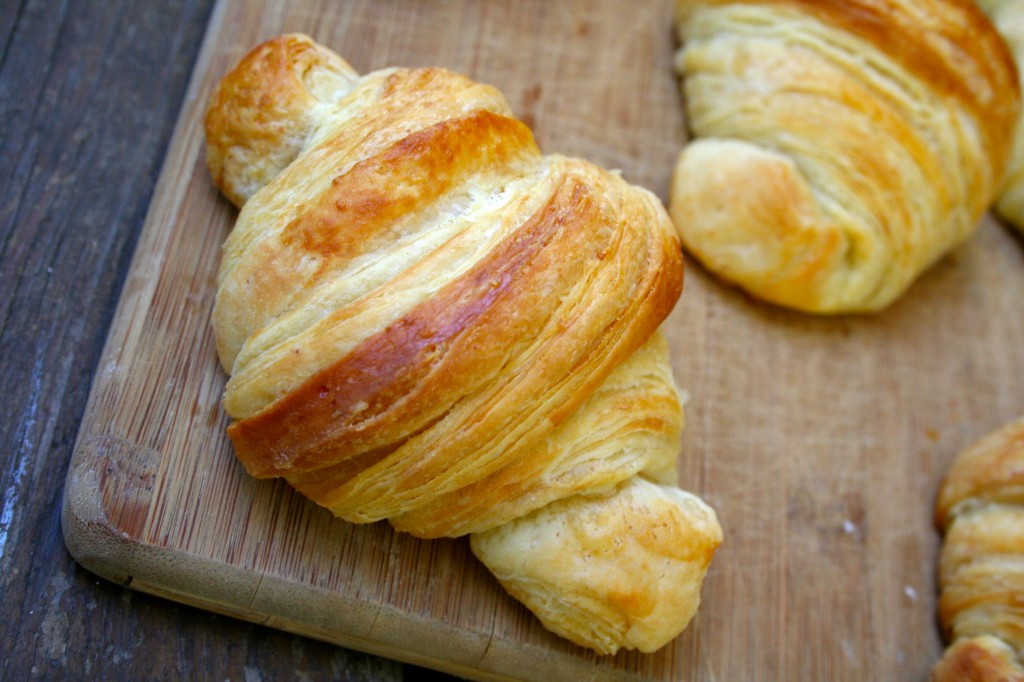
Since going to Paris in May, I’ve developed an undying affection for the most ubiquitous french pastry–the croissant. Waking up each morning in Paris, I’d look forward to my mid-day snack: a freshly baked croissant with hundreds of delicate and buttery layers. We found what I argue is the very best croissant in Paris. Good news: we enjoyed dozens of them. Bad news: I am now hundreds, no thousands of miles away.

What is there to love about a croissant? It begins and ends with butter.

So if you want the very best croissant, you need to splurge on pasture butter. Pasture butter is made from cows grazing on fresh spring pastures. If you can’t access pasture butter, pick up a pound of organic. Because if you are going to invest the time and energy (croissants require much of both) then you might as well make the best croissants in your city, right?

I’ve tried several croissant recipes over the years. Some have left me with croissants swimming in pools of burning butter (bad news, my friends) while others have produced buttery but not flaky pieces of bread. Sadly, I had nearly given up my croissant-baking quest and settled on store-bought.

But then, I found croissant recipe gold.

I should have learned this lesson a long time ago: ALWAYS trust Peter Reinhart. He’s the god of bread. And a benevolent one, at that.

This is what I love about his recipe:

1. A slow fermentation of the detrempe.

2. No pounding of the butter block (my neighbor, husband, and cat should be singing Peter’s praises)

3. Allowance for smaller sized croissants (because you do consume about 8 tablespoons of butter when you eat a huge one)

Quite simply, these are some of the best croissants I’ve ever had (and I can now say that Ryan and I have enjoyed some VERY good croissants). I didn’t ask Peter’s permission to print his recipe so I’d advise you to do one of two things: buy his book (Artisan Bread Everyday) or visit this blog (she asked and received permission to print the recipe).

I brought a basket of croissants to my graduate class on Tuesday night, and we enjoyed them with a jar of strawberry jam. And then, Ryan and I enjoyed a few leftovers the following morning. I didn’t feel like I was in Paris (it is far too hot in Austin for my imagination), but I did feel a bit closer. And that, my friends, is worth all the time in the world.

 Monet

Anecdotes and Apple Cores


Walnut Crusted French Toast

Wet and soggy. With a touch of mold. You can tell I wasn’t made to live in the northwest. Here we are in Austin, with 24 hours of rain, and I’m already eager to wring out my clothes.

But no. Not really. I am actually quite thankful for the way the rain hit my windows as I closed my eyes last night. The soft pattering a constant presence as I dove in and out of sleep. And wet weather does make for better writing. I sat with a cup of coffee and wrote for a few hours this morning. Both me and my thesis director were pleased.

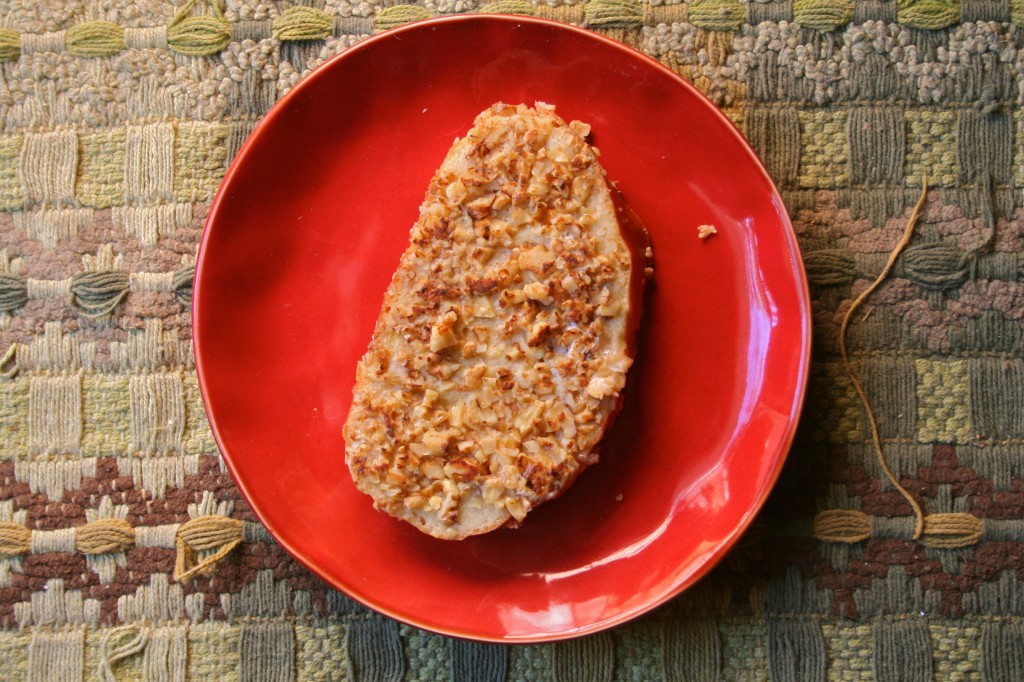
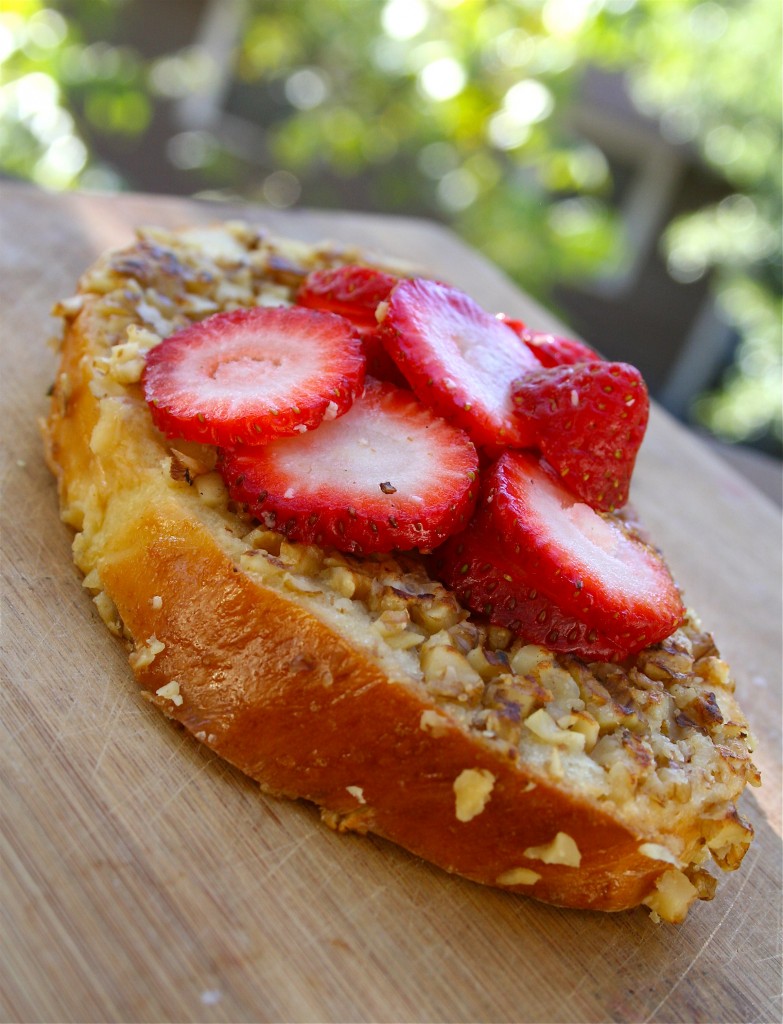
Earlier this week, I received a bag of walnuts from California (I’m fairly certain the southern part) and I happily chopped nuts on Monday afternoon and stretched my culinary imagination. With a few attempts behind me, I landed on this recipe: Walnut Crusted French Toast. Because doesn’t it sound lovely to crust a thick piece of bread with slightly toasted nuts?

If you’re like me, french toast is a weekend breakfast staple. Fresh berries, chopped nuts, and a drizzle of maple syrup can turn a boring piece of bread (forgive me, ubiquitous white loaf) into something worth sharing with friends.

But I took my weekend tradition a step further by dipping  bread into both the classic egg/milk mixture and a bowl of crushed walnuts. As I placed the nutty bread on a skillet sizzling with butter, the aroma of eggs and toasting nuts made me very grateful to be alive.

So…I just had to share this before we took off for the weekend. Because don’t we all want to make french toast tomorrow morning?

Walnut Crusted French Toast

1 cup of walnuts, very finely chopped
1 cup half-and-half
3 large eggs
2 tablespoons honey
1/4 teaspoon salt
8 (1/2-inch) slices day-old or stale country loaf, brioche or challah bread
4 tablespoons butter

1. In medium size mixing bowl, whisk together the half-and-half, eggs, honey, and salt. Pour custard mixture into a pie pan or wide, shallow bowl and set aside. Place chopped walnuts in another similar size pan.

2. Dip bread slice into custard mixture, allowing to soak for 30 seconds on each side, and then dip each side into walnut mixture. Remove to a cooling rack that is sitting in a sheet pan, and allow to sit for 1 to 2 minutes.

3. Over medium-low heat, melt 1 tablespoon of butter in a large saute pan. Place 2 slices of bread at a time into the pan and cook until golden brown, approximately 2 to 3 minutes per side. Repeat with all 8 slices. Serve immediately with maple syrup, whipped cream or fruit.

Monet

Anecdotes and Apple Cores
Maple Apple Pies

I quit my day-job last week. Which means I can now wake in the mornings and set out to make pies and craft stories. I can listen to undergraduates complain about coursework as I sip on cappuccinos. I can worry about what next spring will bring. What the next five years will bring. I can drink a few glasses of wine on Tuesday night because I don’t have to wake up at 6am the next morning. And I can put my nose ring back in.

My father is a busy man. He’s owned his own business for over thirty years, and at the age of 70, he’s still running it (while also playing eight hours of tennis a week and tending to the most beautiful blooms in West Colorado). I grew up watching my father craft something out of nothing. And without  doubt, his presence gives me the courage to leave the conventional behind.

My father loves apple pie. We celebrated each birthday and father’s day with this flaky and sweet dessert. One year, we started to use the apples he grew in the backyard. Now, each summer, I make an apple pie with the dozens of round orbs he tends to with care. We all say: this is the best we’ve ever had.

Ryan and I made a  mistake in August. We forgot our dear friend’s birthday. I am passionate about birthday celebrations (especially when they pertain to my dearest friends), and when I realized that Trent’s birth had led me to neglect my calendar, I was determined to make it up to her.

So on Saturday night, we brought five little apple pies and one of Ryan’s beautiful necklaces to our friend. We ate take-out Indian food, shared a bottle of wine, talked about the election, considered moving to Paris, and then dipped spoons into bowls heavy with maple apple pie and generous scoops of ice cream.

It was a night well lived.

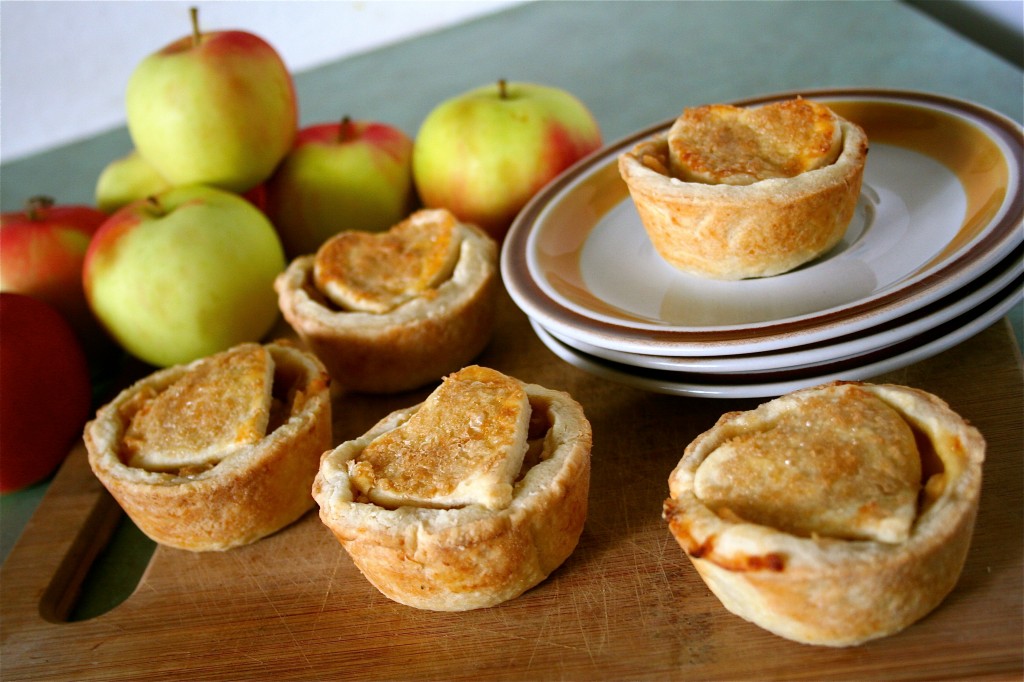
These maple apple pies are perfect for the months of fall. Instead of granulated sugar, I used Grade B maple syrup to sweeten the apples. A dash of cinnamon and a dab of butter gave the filling the perfect amount of full-bodied warmth. This pie could easily be made in a 9-inch pie pan, but I rather enjoyed pressing the all butter dough into muffin tins.  Portable and petite, miniature pies are a fun twist on a classic apple pie.

I enjoyed the last pie the following morning. A near perfect morning. Light poured into my kitchen later than usual (once again, fall!), and because this pie lacks sugar, I felt less guilty about indulging in dessert first. What might have made it a better? A kitchen bar stool that allows me to swivel. Because aren’t swiveling chairs the most fun? We have a bar in our kitchen just waiting for something like this to sit beneath it. Because a Charles Eames chair seems just as classic to me as apple pie.

Maple Apple Pies

1 stick butter (1/2 cup), cut into 8 pieces and thoroughly chilled

1 1/4 cups all purpose flour

1/2 teaspoon salt

1/2 tablespoon sugar

1.5 tablespoons sour cream

1/4 cup ice water

3 cups peeled and chopped apples

1/4 cup pure maple syrup

1/2 teaspoon cinnamon

1 TBSP butter

One beaten egg

1. In the bowl of a food processor, pulse flour, salt, and sugar 5 times. Sprinkle chilled pieces of butter on top of flour and pulse until the mixture resembles course pea-sized crumbles. In a small bowl, whisk together sour cream and ice water. Pour over flour/butter mixture and pulse until the dough begins to come together (it will still look crumbly). Dump contents on a clean and lightly floured surface and form into a disc of dough (adding an additional tablespoon of ice water, if necessary).

2. Chill dough in refrigerator for 30 minutes. Meanwhile, heat 1 tablespoon of butter in a medium skillet over low heat. Add apples, spices, and maple syrup. Stir with a wooden spoon and allow to cook for 10-15 minutes, until the apple pieces begin to break down.

3. Remove chilled dough from refrigerator and roll out to 1/4 inch thickness. Using a 4-inch round cookie cutter, cut out 6 circles, setting the extra dough aside. Press circles into 6 standard size muffin tins. Allow to chill in refrigerator or freezer while you cut out the tops of the pies. Roll out remaining dough and cut out small hearts or stars or rounds (really, whatever you desire).

4. Scoop 1/3 cup of filling into the prepared muffin tins. Top with pastry shapes and brush with beaten egg. Bake in a preheated 375 degree oven for 20 minutes, or until the crust has turned a light golden brown. Allow to cool in muffin tin for 10 minutes before removing with a knife. Serve with a scoop of ice-cream.

Monet

Anecdotes and Apple Cores
Peach Granola Crisp

Margot and I walk through Hemphill park each morning. We strike out at seven AM, before the Texas sun has a chance to test my reserve. Hemphill park is surrounded by beautiful historic homes, costing upwards of $600,000. Yet when we see them in dawn light, they are sleepy, quiet, and ordinary. Often, there are discarded toys on front porches or weeds growing in between concrete slabs. If we’re lucky, the robes of a waking parent will float across a living room, and we’ll connect human faces to the myths these homes garner.

As of late, we’ve witnessed a Hemphill resident perform his own morning routine. We often hear him before we see him.

“Come on out Sully! Here, here sweet kitty!”

And then: an old man, in his checkered boxers, leaning over and peering into the rain gutter in front of his house. It seems that Sully has taken to diving into the sewer. Despite the fact she is a well-to-do cat. Despite the fact that her owner tries to keep her safe. And so Margot and I watch, with no shame, as this man does everything in his power to get Sully to come home. He sings. He claps. He blows air through his lips in a bad attempt to mirror a cat’s purr.

We have quickly realized that humans share more similarities than not. No matter where you live. No matter how many dollars are in your bank account. We all make fools of ourselves trying to take care of those we love.

Last week, I received a box on my doorstep. Filled with the best granola I have ever tasted (and you know how much I like to eat and make granola). I first tried Purely Elizabeth granola in Colorado, and so I was thrilled when I all found the bags at Central Market here in Austin. What makes Purely Elizabeth different is the ingredients they start with: ancient grains, coconut sugars, and chewy dried fruit. Vegan. Gluten-Free. And missing all the preservatives and refined sugars that do our bodies no good. I went through my first bag of Original granola in two days. TWO DAYS. I kept it in my purse and gave it to everyone I met (my sister, my mom, my best friend from college, my husband). Everyone agreed: this granola was good. And so different from anything we had ever tried.

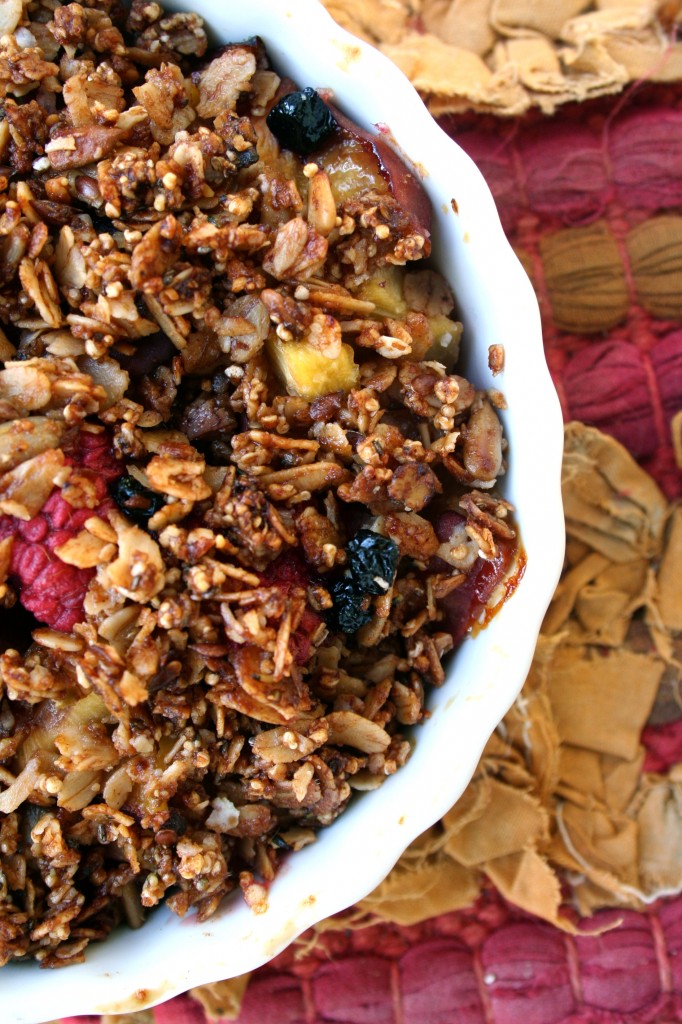
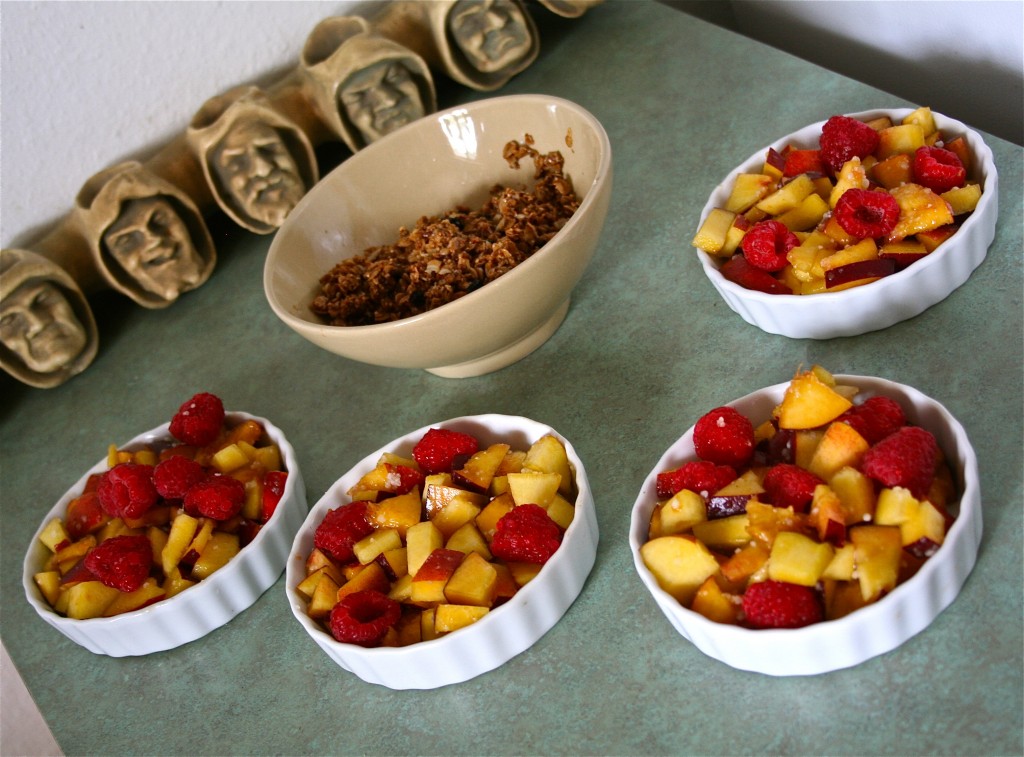
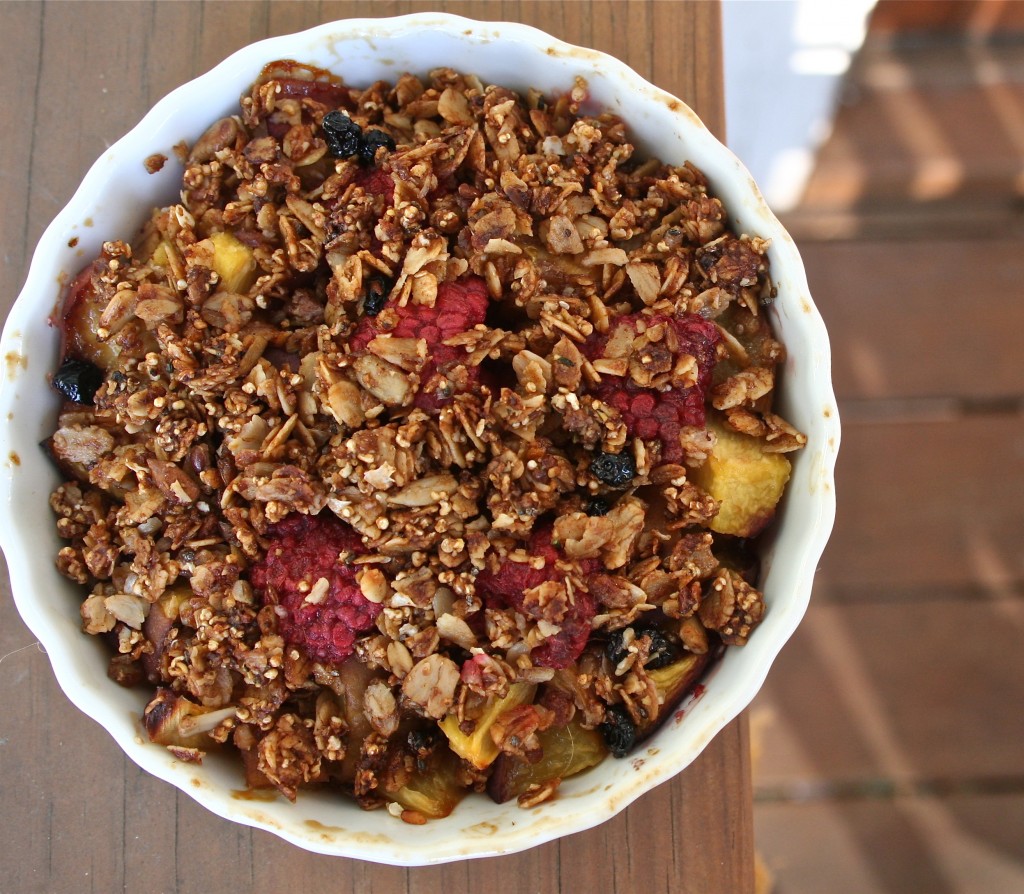
When Purely Elizabeth sent me a box of granola to sample and share, I knew I wanted to create a recipe that reflects their company and their product. This Peach Granola Crisp is a beautiful vegan and gluten-free dessert. Relying on the end of the summer bounty, this crisp doesn’t require much work. We let all the natural goodness shine through. I topped the crisp with Purely Elizabeth’s newest flavor: Blueberry Hemp. Hempseeds and blueberries are both packed with antioxidants (not to mention they taste delicious too!)

If you’d like to find your own bag of Purely Elizabeth, visit their website and facebook page I’m going to be working with them more in the near future…and I look forward telling you all about it soon!

Peach Granola Crisp

4 cups peaches, peeled and sliced thin

1 8 oz container of raspberries

1/3 cup coconut sugar

2 TBSP tapioca (finely ground)

2 TBSP lemon juice

2 cups Purely Elizabeth Blueberry Hemp Granola

2 TBSP coconut oil

1. Preheat oven to 350 degrees F. Set out four small (6-inch) tart pans or one large pie pan.

2. Place sliced peaches in a colander. Sprinkle with coconut sugar and lemon juice. Allow to macerate for 30 minutes, reserving juice. In a small bowl whisk ground tapioca into 2 TBSP of reserved juice.

3. In a medium bowl, toss peaches with the tapioca/juice mixture. Pour into pie or tart pans. Sprinkle with raspberries. In a small bowl, mix granola and coconut oil until small crumbles form. Sprinkle over fruit. Bake in preheated oven for 20-25 minutes, or until fruit begins to bubble. Allow to cool for at least one hour before serving.

Monet

Anecdotes and Apple Cores
Cinnamon Twist Bread

Over the weekend, I spoiled myself. Not only did my childhood friend come to visit–with her beautiful 8-month pregnant belly–but I drank two frothy cappachinos.

Normally, I take my coffee black. Or with the most meager splash of almond milk.  But after a hard week, whole milk with two shots of espresso sounded very very good.

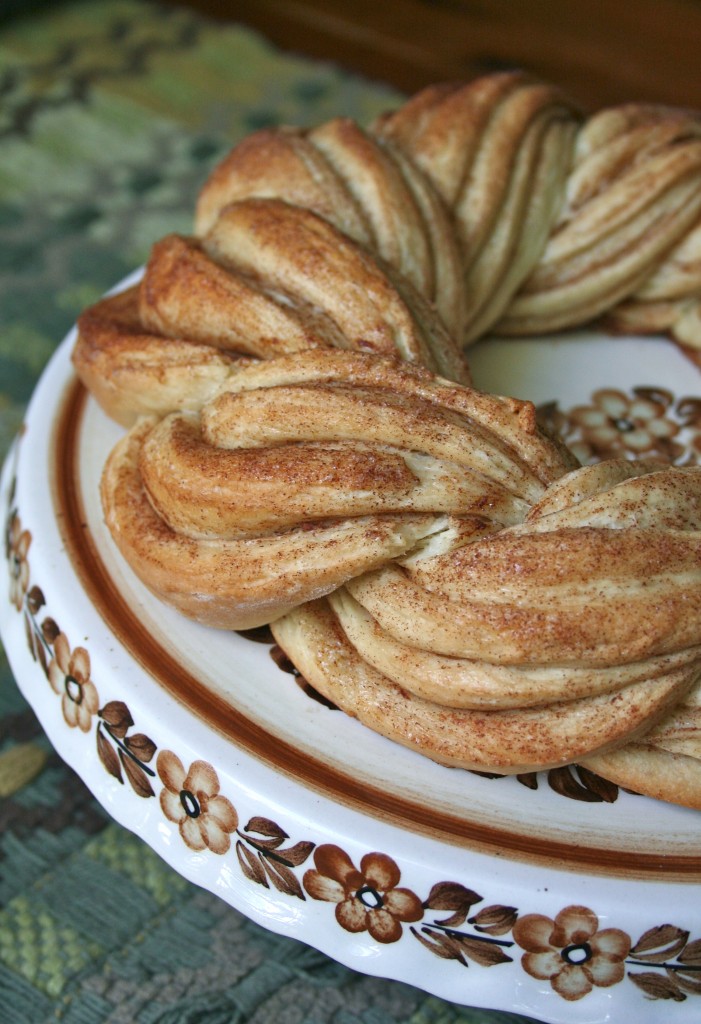
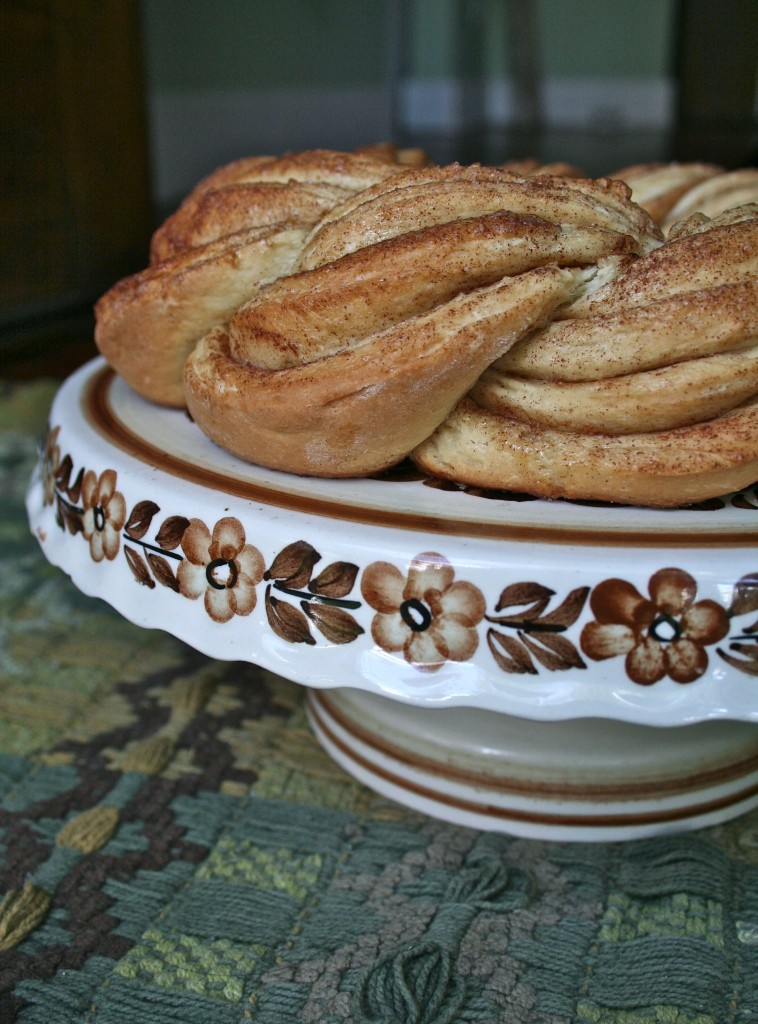
And they were good. Exactly what I needed. As was this cinnamon twist bread–a twisty, yeasty experiment that turned out beautiful and delicious.

I also bought flowers. Because who doesn’t like filling blank spaces with the gentle opening of pink buds? For four dollars, I filled two vases with roses, and all weekend, I marveled at their delicate and glorious deaths.

Espresso and flowers. Cinnamon and sleeping cats. These were the things that make up the quiet moments of my busy life. This week, I’m baking 200 cookies for a UT event and madly finishing two novels for my Tuesday and Wednesday classes.

No doubt, I’ll be drinking more cappacinos and treating myself with buttery and flakey pastries. I’m going to need a lot of both this semester.

This dough should be made the night before you’re ready to bake your twists. While it might seem a bit taxing, preparing the dough ahead of time makes for a much easier morning. I rolled out of bed at 6 am on Saturday and placed the dough on the counter while I returned to sleep for an additional hour. By 9:30, I had two beautiful cinnamon twists ready to share with my husband and friends.

This cinnamon twist bread is a special and different expression of the morning classics–cinnamon, sugar, butter, and yeast. It made everyone ooh and ahh (always good, right?) and left everyone eager for one more piece. In the recipe below, I’ve linked to a great pictorial tutorial that can help sort the following words into reality.

Cinnamon Twist Bread

6 1/4 cups (28 oz) all-purpose flour

1 Tbs kosher salt

6 Tbs granulated sugar

5 tsp instant yeast

2 cups + 2 Tbs lukewarm milk

1/2 cup melted butter (unsalted)

zest of 1/2 lemon

3 Tbs ground cinnamon

3/4 cup sugar

1/4 tsp ground nutmeg

up to 4 Tbs melted butter, for brushing

1. To make the dough, combine the flour, salt, and sugar in the bowl of stand mixer. Whisk the yeast into the milk until dissolved, then pour the mixture into the dry ingredients, along with the butter and lemon zest. Use the paddle attachment to mix the ingredients on the lowest speed for about 1 minutes, or until the dough starts to form a soft, shaggy ball.

2. Switch to the dough hook and mix on medium-low speed for about 4 minutes, adding more flour or milk as needed to create a smooth, soft, slightly sticky ball of dough. Increase the speed to medium and mix for an additional 2 minutes, or until the dough is very soft, supple, and tacky, but not sticky.

3. Transfer the dough to a lightly floured surface and knead for about 1 minute, then form it into a ball. Place the dough in a large, lightly oiled bowl, cover tightly with plastic wrap, and refrigerate overnight or up to 4 days.

4. On baking day, remove the dough from the refrigerator about 3 hours before you plan to bake. Divide the dough in half and form each half into a ball. Cover with plastic wrap or a lint-free kitchen towel, and allow to rest for about 20 minutes.

5. On a well floured counter, roll each ball of dough into a 12 x 15 inch rectangle. To form a rectangle, roll from the center to the corners, then out to the sides. If the dough starts to resist or is shrinking back, let it rest for 1 minute then continue rolling. The dough should be between 1/4 and 1/2-inch thick.

6. Make the cinnamon-sugar mixture by whisking the cinnamon and nutmeg into the sugar. Brush the surface of the dough with the melted butter over the dough, and sprinkle the cinnamon-sugar over the surface, leaving a 1/4-inch border. Roll up the dough like a rug, rolling from the long-side of the rectangle to form a tight log.

7. Using a sharp knife, cut  down the length of the log so that it splays open, showing the many layers within. Place halves side by side, with cut surfaces facing up. Moisten one end of each portion with wet fingers. Push the ends together to join the two pieces of dough. Braid pieces together. Shape into a ring and fit into a greased 8 or 9-inch pan. Brush with additional melted butter and sprinkle with cinnamon and sugar.

8. Bake Cinnamon Twist Bread  in a preheated 350 F oven for 25-35 minutes. Allow to cool for 20 minutes before serving.

Monet

Anecdotes and Apple Cores