Ice Cream Cake

Hard to believe, but I’m flying to Colorado as I type and upload this post. Buying an American Airlines wi-fi pass for 5 dollars was an easy choice, especially when the weekend ahead will allow for very little time on my computer. We’re celebrating our dear friends’ wedding and I’m throwing my sister a baby shower. The birth of Susanne’s fourth child is a much-needed blessing after a long slew of hard news for my family. So this might be the only time for me to confirm cake orders, finish blog posts, and write a few emails to distant friends around the world. But as I’m typing away, checking emails, and updating my facebook account, Ryan is cross-stitching.  With a jet engine to his left and a blogging wife to his right, Ryan is pulling hand-dyed thread through small patches of lambswool. Yes, there are many days when I’m thankful for how we balance each other, pull each other out of the virtual world and into tangible reality.

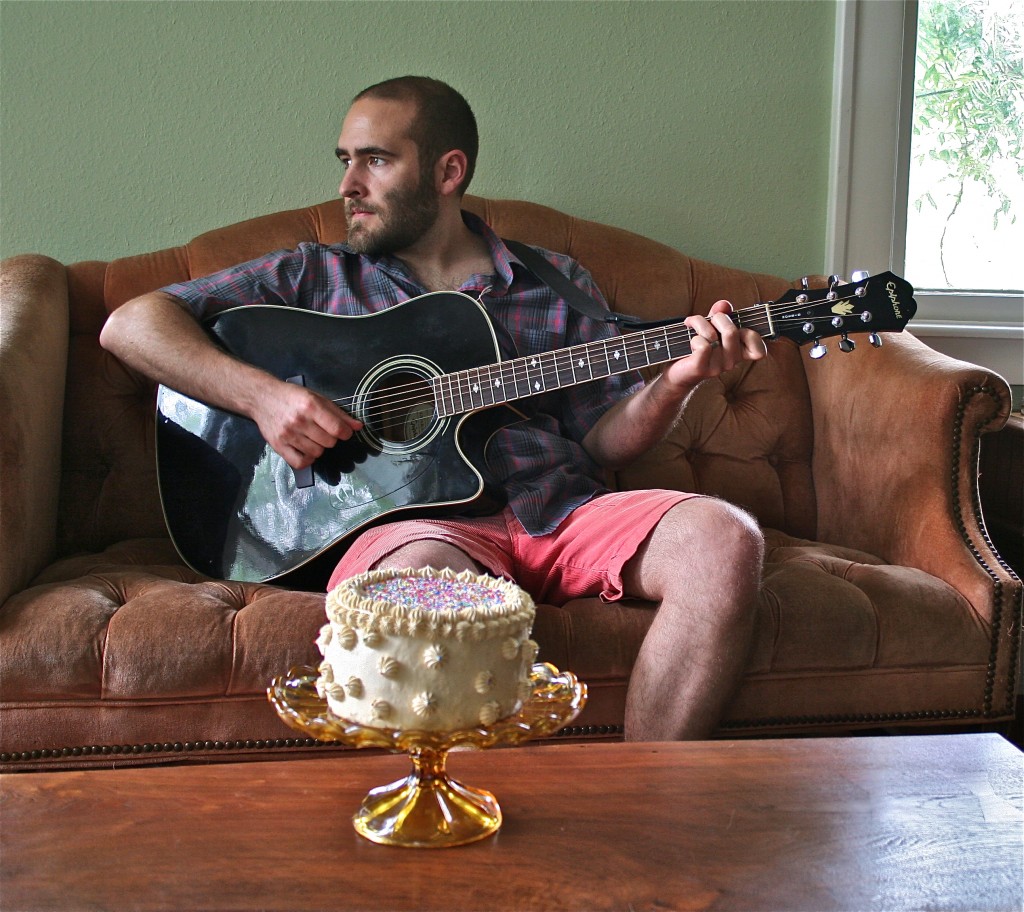
I find I’m happiest when I finish a cake. The planning, the dirty bowls, the sketches in my book, the frosting in my hair, and the heat of the oven finally mean something when I’m able to put that cake on its cake stand. It means even more when I’m able to give that cake to someone I love.  Ryan celebrated his 28th birthday on Monday, and because he’s the sweetest man I’ll ever know, I made him his favorite–a chocolate chip cookie dough ice cream cake. Ryan is born in June, but I’m born in December, so an ice-cream cake was never on the top of my list of birthday treats. But for Ryan, an ice cream cake was the perfect way to celebrate his special day. Year after year, his family and I have ordered him one. Starting with this birthday, his 28th, I’ll now be making them.

Because making an ice-cream cake is easy. I promise. And so very easy to customize.

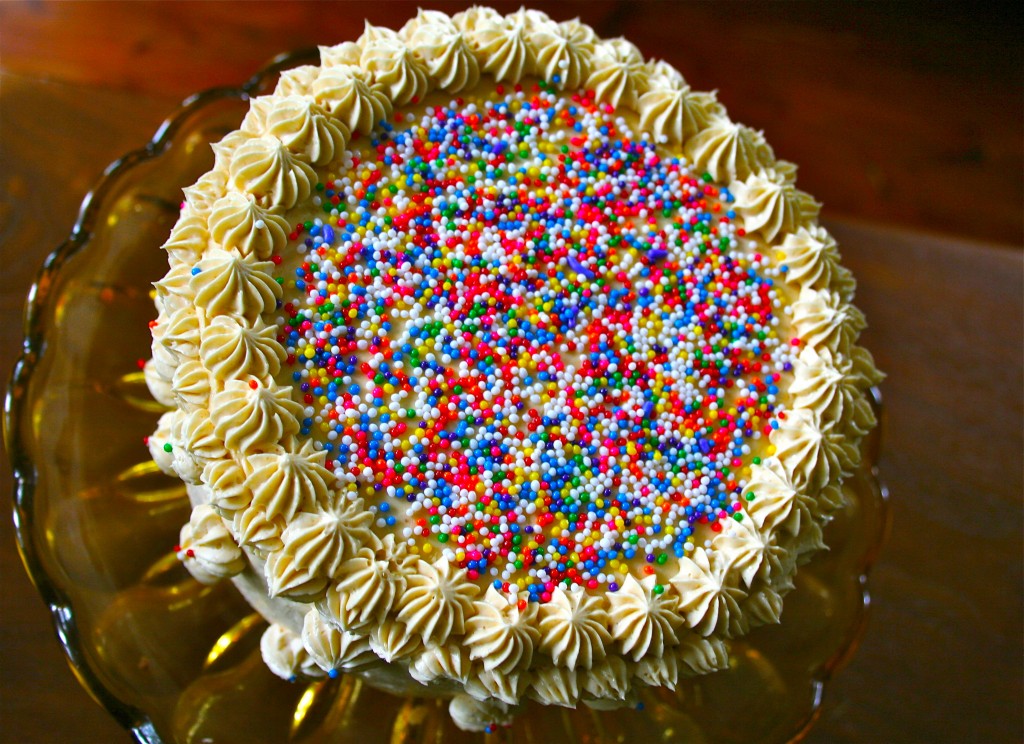
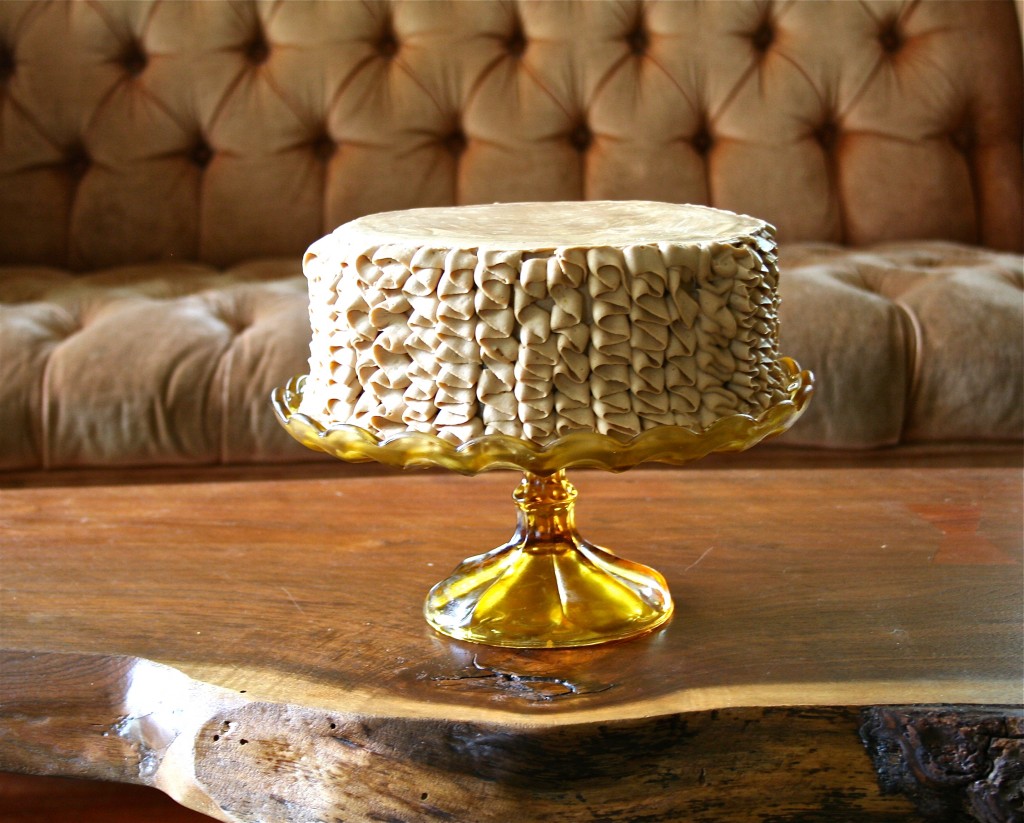
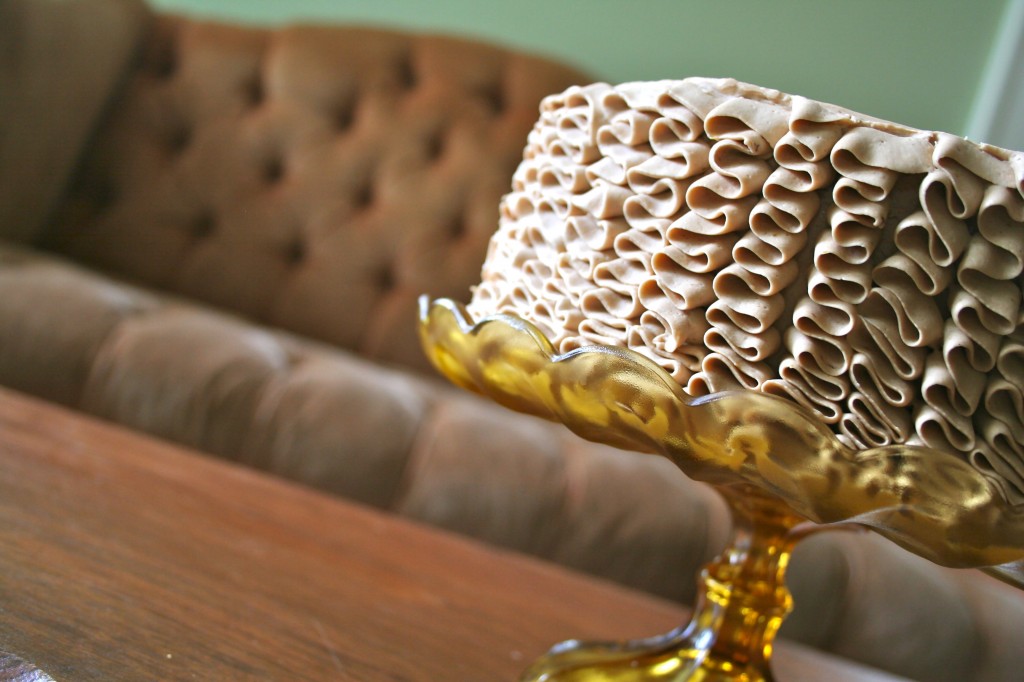
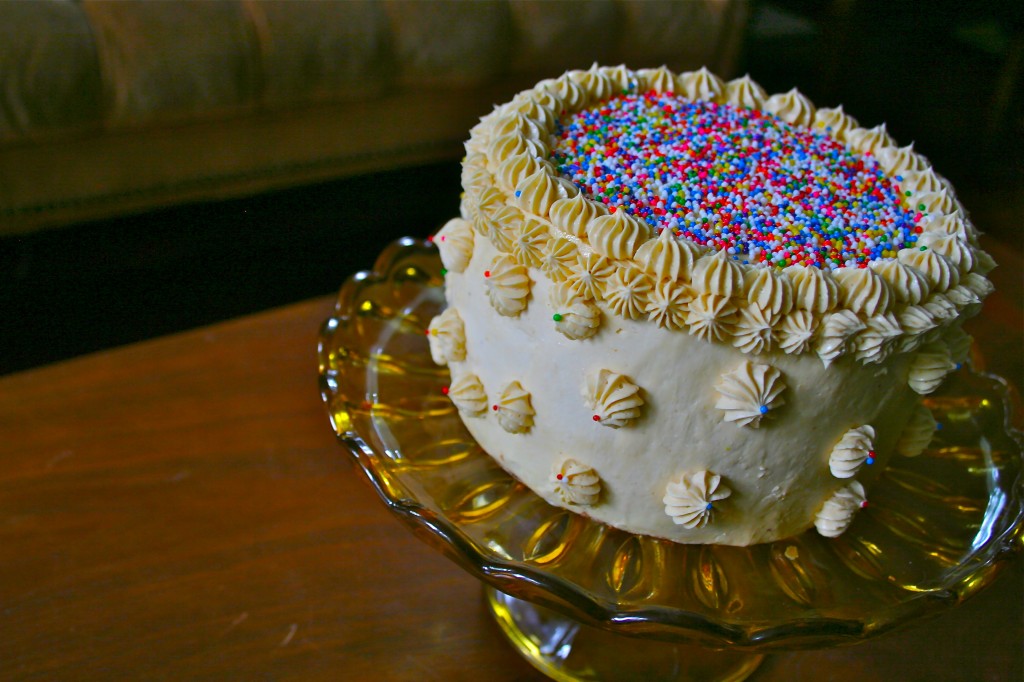
I am particular about my ice cream. I like to buy organic dairy products, which means I have to avoid the big-name brands. A quick trip to my neighborhood co-op provided me with plenty of options though, and I bought one pint of organic vanilla ice cream and then mixed in a few chunks of homemade cookie dough. The sprinkles were a last minute addition, and I’m glad I took the time to press them into the top layer of buttercream. The cake popped, and it tasted amazing too.

I can’t wait to see our friends and family in Colorado. No matter how far you travel or how deep you plant new roots, I don’t think you can ever shake away that feeling of home. My dad will be picking us up in just over an hour, and I can’t wait to hear him talk about his latest tennis match or the lilacs that are blooming in the backyard. And of course, seeing those mountains, the way the sun hits Pikes Peak in the early morning, and the coolness of June air simply can’t be beat. No matter how many breakfast tacos I eat or how long I sit in traffic to get to Whole Foods, Colorado will also be my heart’s truest home.

Ice Cream Cake

2 6-inch layers of cake, any flavor

1 pint organic ice-cream

1 batch buttercream

1. Two days before you plan on serving the ice cream cake, soften the pint of ice-cream until spreadable. Line a 6-inch cake pan with plastic wrap and spread ice cream into pan until smooth. Cover lightly with plastic wrap and place in freezer for at least 2-3 hours or until frozen solid.

2. One day before serving, arrange one layer of cake on cake board or serving dish. Unwrap the frozen ice-cream layer and place on top. Cover with the remaining cake layer. Quickly cover your cake with a coat of buttercream, not worrying about crumbs. Once you’ve applied one thin layer, return to freezer and allow to chill for 15-30 minutes. Remove and cover your cake with another layer of buttercream. You will now be able to cover the crumbs. Frost well, but remember your ice-cream is in danger of melting if it stays out too long. Once you’ve finished frosting the cake, return to freezer for 12-24 hours.

3. Before serving, remove cake and decorate with remaining frosting or sprinkles. Allow to sit at room temperature for 30 minutes to 1.5 hours, depending on how long the cake has been frozen. Cut with a warm knife (dip knife into a glass of hot water).

Monet

Anecdotes and Apple Cores

Chocolate Buttercream

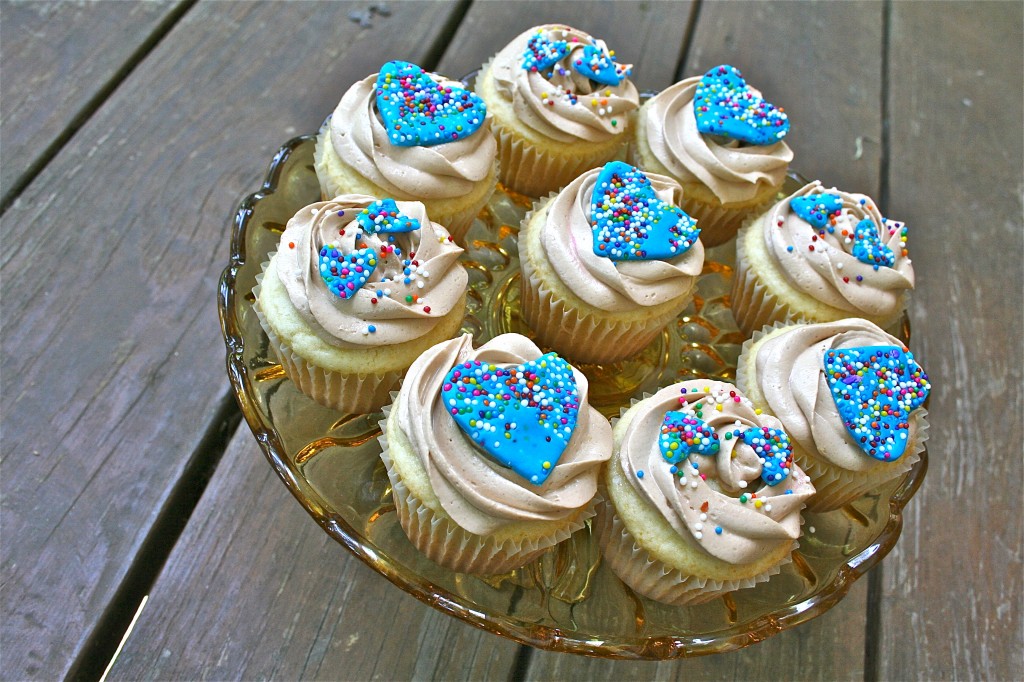
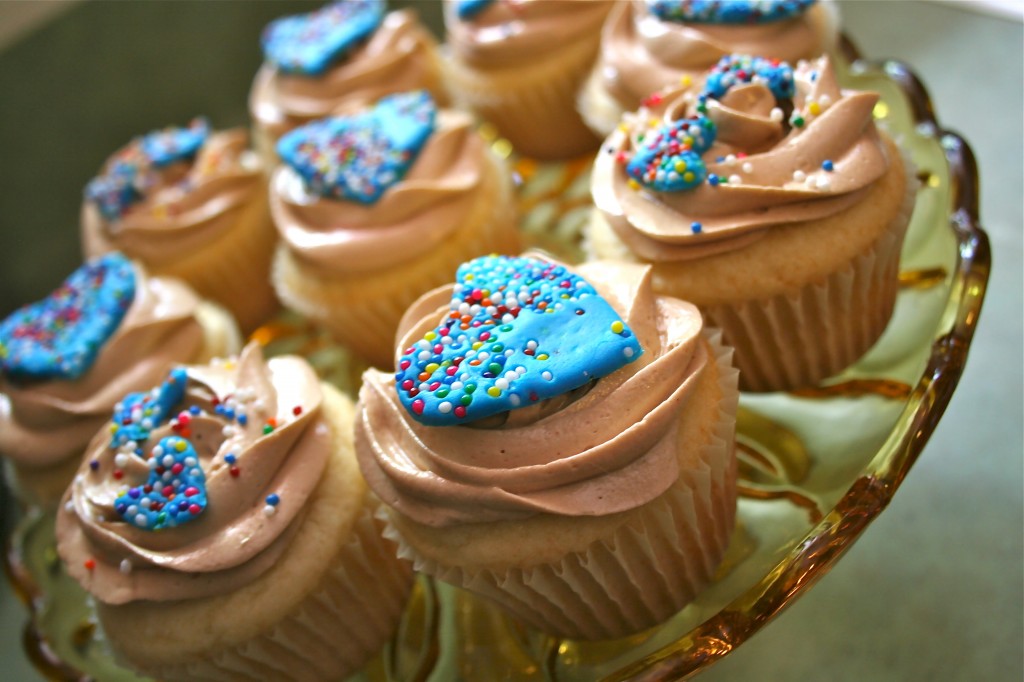
When I relaunched my site, I had every intention to stagger my recipes. One cake-related post followed by a “healthier” concoction. But lately I’ve found my afternoons occupied by cake orders. Cake Stand is growing and leading me into the kitchen more than I had anticipated (which is a huge and exciting blessing). While I do plan on making a batch of agave-sweetened banana muffins this afternoon, I thought these cupcakes were too pretty not to share. I brought a dozen over to a party yesterday afternoon, and smartly kept two at home for Ryan and me to enjoy. Many people wonder how we stay so slim with such an array of sweets on our counters. The answer is that we give most of these cakes away now (but that doesn’t mean we don’t ever enjoy a cupcake or two). A healthy diet revolves around moderation.

But before I go any further, I must fully disclose that I have a serious case of baby lust. Many of my friends are embarking on the parenthood journey, and with my older sister due in August, I’m itching for a little one of our own.  I don’t know exactly when this will happen, but it’s on the horizon. I’m seeing a wonderful acupuncturist, eating a lot of avocados and bowls of ice cream, and tabulating lists of boys and girls names.

Because I know so many babies coming into the world and hope to have my own in the near future, I was thrilled when I had the opportunity to visit with Addie Barnett of Diaper Circus. After having her own newborn, Addie realized all the things she wanted in a cloth diaper and set out to make her own. I brought these lovely cupcakes to a Diaper Circus party, and the colorful sprinkles perfectly match the bright and beautiful prints of Addie’s handmade cloth diapers. If you have a little one, or know someone who does, I suggest you visit her site and buy, buy, buy! After sending a few pictures to my sister, Susanne, she sent me back to Addie with an order in hand.

And once you’ve explored her site, I suggest you make a batch of cupcakes with this most thick and luscious chocolate buttercream. While most chocolate cake recipes (yes, even my last chocolate and caramel cake) call for a simple powdered sugar frosting, I make all my wedding cakes with a more traditional buttercream. Egg yolks are used instead of egg whites, which makes this chocolate buttercream rich and creamy, unlike anything you can find at most bakeries or grocery stores. Absent also is the powdered sugar, which means that this chocolate buttercream doesn’t scream sugar. A good thing, especially when you have little ones who might want a bite or two.

Chocolate Buttercream

6 egg yolks

1/2 cup corn syrup (this is NOT high-fructose, so don’t be alarmed)

3/4 cup sugar

4 sticks butter

2 tsp vanilla

1/4 cup cocoa powder

1. Whip the egg yolks in a large bowl with an electric mixer of medium-high speed until slightly thickened and pale yellow, 4 to 6 minutes.

2. Meanwhile (and really, this has to be done concurrently for the recipe to work), bring the sugar and the corn syrup to a boil in a small saucepan over medium heat, stirring occasionally.

3. Then, while the sugar mixture is still hot, turn the mixer to low and slowly pour the the warm sugar syrup into the whipped egg yolks without hitting the sides of the bowl or the beaters (this is the hardest part…don’t worry if it isn’t perfect). Increase the mixer to high and whip the mixture until light and fluffy and the bowl is no longer warm to the touch (8-10 minutes).

4. Reduce the mixer to medium-low and add the cocoa powder, vanilla and salt. Gradually add the butter, one piece at a time, until completely incorporated. Increase the mixer to medium-high and whip until the buttercream is smooth and silky, about two minutes. Use immediately or store. The buttercream can be refrigerated in an airtight container for 3 days. Let the buttercream stand at room temperature for 2 hours before rewhipping.

Monet

Anecdotes and Apple Cores

Chocolate Caramel Cake

Can you ever go wrong with chocolate and caramel? Ever since middle school, where Fridays meant a slice of pizza at lunch and a pack of rolos to get me through Algebra, I’ve found the combination of chocolate and caramel irresistible. As an adult, I don’t buy or eat much candy, but I do satisfy my chocolate and caramel cravings by baking the occasional decadent cake for Ryan and me to share.

This cake came about after I made a HUGE jar of homemade caramel last Wednesday. Here in Austin,we’ve almost reached our candy-making limit. With highs in the 90s, it is almost too hot to stand over a pot of boiling sugar and butter. My advice for my southern readers: make your caramel first thing in the morning. Not only will you be cooler, you can drizzle a little caramel on your pancakes too.

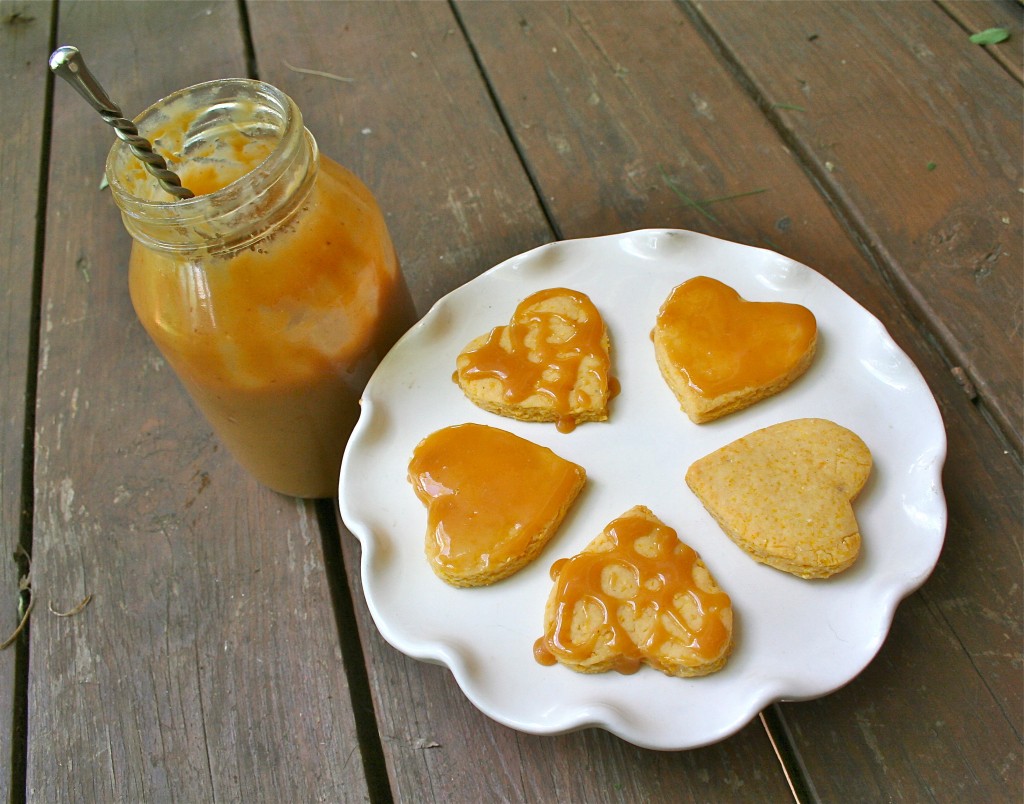
I spread a thin layer of my caramel on a few polenta and honey cookies, but I still had over half a jar left . And is there really a better way to use caramel then as a filling for a  cake? I think not.

This cake turned out beautiful and tasted even better than my 8th grade rolos. I like my caramel on the salty side, so I added a healthy pinch of sea salt once bringing it off the burner. The salty caramel contrasted beautifully with the spongy chocolate layers.  Because Ryan and I don’t usually eat entire cakes in one setting, we invited a few friends over to help us put a dent in this. We found that one small sliver was more than enough to satisfy any and all dessert cravings.

And that’s what I like about my desserts. They are rich, but satisfying.

If you haven’t had a chance, visit the website for Cake Stand and like me on Facebook. I’m baking two cakes this weekend, and I’d love to share both of them with you! And if you’re looking for a cake in Austin, let me know.


Thick Caramel Sauce

1 cup butter

2 cups packed brown sugar

1 cup light corn syrup

1 can sweetened condensed milk

2 tablespoons whipping cream

2 teaspoons vanilla

1-2 teaspoons sea salt

1. Atttach a candy thermometer to a heavy saucepan. In saucepan, bring butter, brown sugar, corn syrup, and sweetened condensed milk to a boil over medium heat, stirring with a wood spoon.

2. Carefully and slowly stir in whipping cream. Be careful, cream will boil rapidly and can burn.

3. Continue to stir mixture until caramel reaches 238 degrees, the soft-ball stage. This will take anywhere from 5-15 minutes.

4. Remove from heat and add vanilla and salt.

5. Store in a glass jar after the mixture has cooled slightly. If your caramel is too hot, there is the risk of glass breaking.

Note: As caramel cools, it thickens. If you aren’t using caramel right away, you can store for 1-2 weeks in a glass jar. When you’re ready to enjoy your candy creation, spoon out a chunk (yes, it will be that thick), add a dash of cream, and then microwave in 15 second increments until smooth.

Chocolate Cake

*From Ina Garten

Butter, for greasing the pans

1 3/4 cups all purpose flour

2 cups sugar

3/4 cups cocoa powder (Hershey works well)

2 teaspoons baking soda

1 teaspoon baking powder

1 teaspoon salt

1 cup full-fat buttermilk, shaken

1/2 cup vegetable oil

2 extra-large eggs, at room temperature

1 teaspoon pure vanilla extract

1 cup freshly brewed hot coffee

1. Preheat the oven to 350 degrees F. Butter three 8-inch round cake pans. Line with parchment paper, then butter and flour the pans.

2. Sift the flour, sugar, cocoa, baking soda, baking powder, and salt into the bowl of an electric mixer fitted with a paddle attachment and mix on low speed until combined. In another bowl, combine the buttermilk, oil, eggs, and vanilla. With the mixer on low speed, slowly add the wet ingredients to the dry. With mixer still on low, add the coffee and stir just to combine, scraping the bottom of the bowl with a rubber spatula. Pour the batter into the prepared pans and bake for 35 to 40 minutes, until a cake tester comes out clean. Cool in the pans for 30 minutes, then turn them out onto a cooling rack and cool completely.

3. Place 1 layer, flat side up, on a flat plate or cake pedestal. With a knife or offset spatula, spread the top with the caramel filling. Place the second layer on top, rounded side up, and spread the frosting (recipe follows) evenly on the top and sides of the cake.

Chocolate Frosting

1/2 cup (1 stick) melted butter

1/2 cup cocoa powder

3 cups powdered sugar

1/3 cup milk

1 tsp vanilla

1. Melt butter in microwave or on stove. Stir in cocoa powder until combined. Slowly add powdered sugar, vanilla and milk beating on medium speed until light and fluffy. Add more milk if necessary. (I also added a few spoonfuls of my caramel sauce. Why not?)

Monet

Anecdotes and Apple Cores

Polenta and Honey Cookies with Homemade Caramel

We have a few favorite places in Austin: Vintage Heart Coffee , Antonelli’s Cheese Shop, Easy Tiger, and Enoteca Vespaio. When my little sister flew all the way from West Virginia to visit Ryan and me last week, we made a point to hit as many of our favorites as possible. Enoteca Vespaio is the place to grab dessert in Austin. Their pastry chefs are immensely talented, producing desserts that scream flavor, not sugar. While Noelle chose a sexy black and white brownie, I went for a seemingly simple cookie. But after my first bite, I was sold. Polenta and honey. Who would have thought? But the slight crunch of the polenta contrasted well with the complex yet slight sweetness of the honey. HOLY HEAVEN, I told Noelle, THESE ARE TOO GOOD. But because Enoteca Vespaio is located in South Austin (and I try to avoid driving and traffic as much as possible), I knew I had to recreate these cookies at home.

Recreating a baked good without a recipe always takes a few tries, but I finally found what I’d been hoping for. These polenta and honey cookies are ALMOST as good as what I got at Enoteca Vespaio (and that is actually saying quite a lot). They don’t contain any sugar so if you like your cookies sweet and gooey, I suggest you try something else. But if you want a cookie both complex and unique then write this down and pull out your mixing bowls. But be forewarned: these cookies  have a  slightly grainy crunch from the polenta.  Some people (like my husband) aren’t the biggest fans. But I think the crunch is a delightful change from the ordinary, and when coated with a thin layer of caramel, I can’t help but deem these as favorites. And speaking of caramel…I made a big jar this weekend, and I’ll be sharing the recipe, along with a chocolate cake, very soon. Until then, enjoy friends, family, and cookies!

Polenta and Honey Cookies

1/2 cup finely ground polenta (cornmeal)

1 1/3 cups all-purpose flour

1/4 teaspoon salt

2 teaspoons baking powder

1/3 cup honey

1/2 cup butter, softened

1 egg

1/2 teaspoon almond or vanilla extract

1. Preheat your oven to 350 degrees Fahrenheit and line a baking sheet with parchment paper.

2. In a medium bowl, combine the polenta, flour, salt, and baking powder. Stir until thoroughly combined.

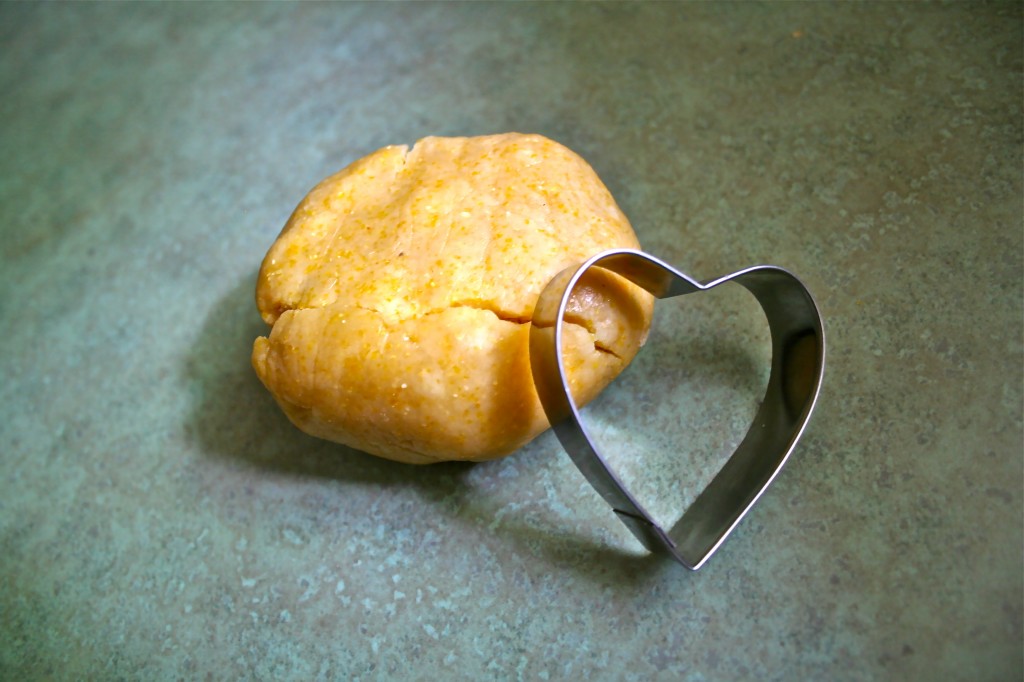
3. In a small bowl, beat together the softened butter and honey until creamy, about 3-4 minutes. Beat in the egg and stir in almond or vanilla extract. Fold in the wet ingredients into the dry ingredients until combined. Form into a ball, cover with plastic wrap, and allow to chill for at least one hour.

4. Roll out chilled dough on a lightly floured surface to 1/3 inch thickness. Cut with cookie cutters and place on prepared baking sheet. Bake for 10-15 minutes, or until lightly golden. Allow to cool 5 minutes on pan before removing to a wire rack.

A little blue wedding cake

We’ve been back from France for little under two weeks and I’m still adjusting to not beginning my day with a freshly baked croissant. Men and women walk around with baguettes tucked in their back pockets in Paris, so you can imagine I felt like I belonged.

When I say that Ryan and I needed this trip, I mean desperately. To leave everything behind (good and bad) and walk through streets where people clung, smoked, ate, and laughed together was a much needed balm for two very sore hearts.

And how am I doing back in Austin? Surprisingly well. A well-timed visit from my little sister, a wedding cake for a friend, a delightful brunch with three of my favorite people, and Austin’s first West Austin Studio Tour made for an easier transition back into the daily grind.

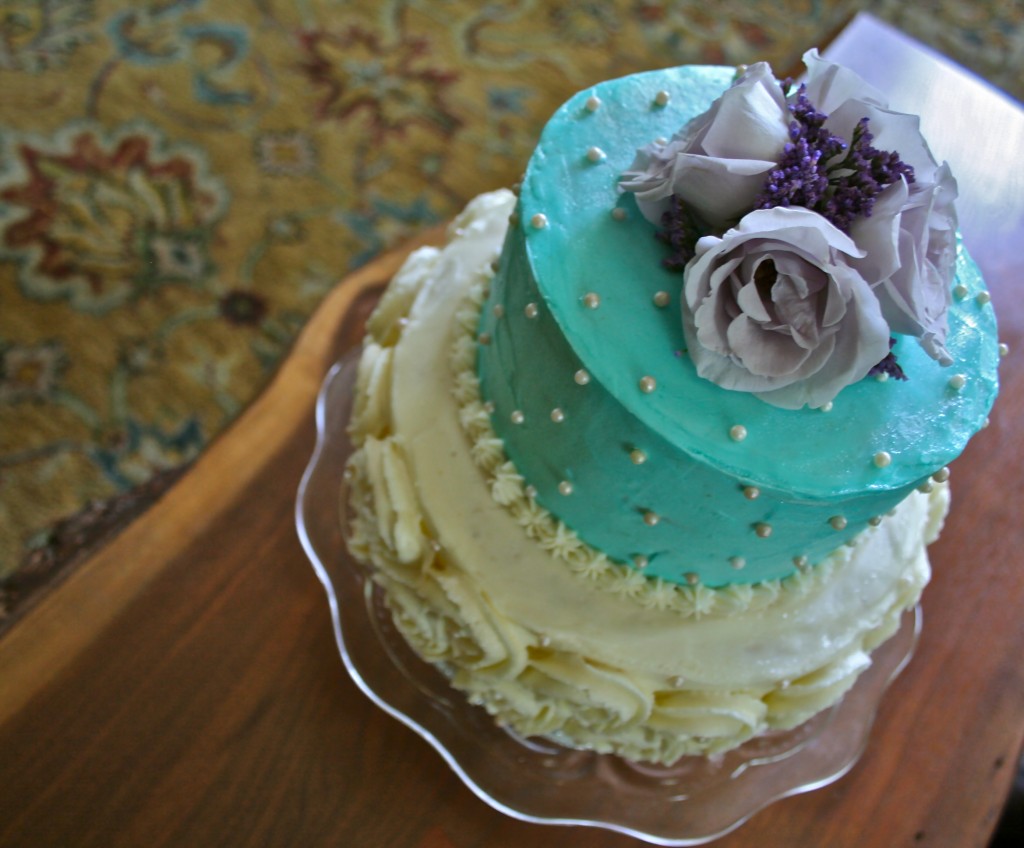
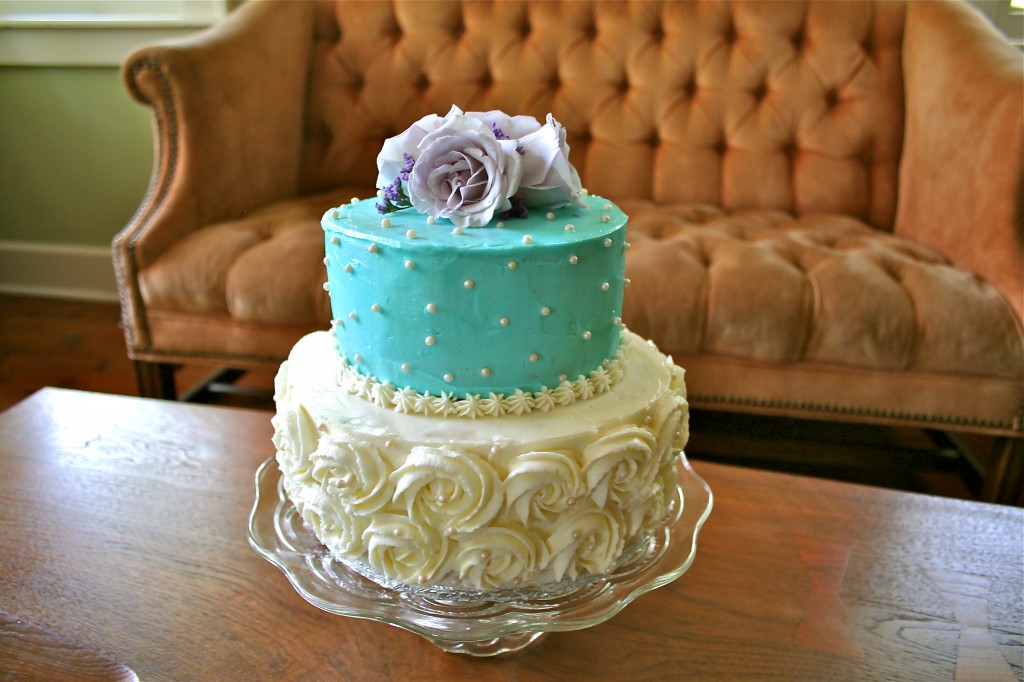
This wedding cake is composed of classic vanilla layers with a chocolate ganache and almond pastry cream filling. My little sister, Noelle, and Ryan were kind enough to assist me in the 40 minute drive to the reception site. There is nothing like delivering a wedding cake, I’ve decided. Not only do we have to contend with bumps and angry drivers, but the Texas heat can do a number on anything composed of whipped butter. So were all thankful that the cake arrived safely, and even more happy to see so many lovely people celebrating the joyful day of two wonderful people.

 And while I don’t have a recipe to share with you, I do have pictures and words to bless my first post on this new site. Ryan was kind enough to design it for me, and I’m happy to also share a link to my blooming after-work endeavor–Cake Stand. If you have a moment, take a visit and join me in anticipating growth and open doors.

This week is full of exciting things for Ryan and me. Namely, good food with friends and family. I’m working on several French pastry recipes (of course) as well as a simple polenta cookie sweetened with honey. More blog posts will be coming (right here) very soon. I hope everyone is doing well and enjoying what can only be brighter days for us all.

Monet

Anecdotes and Apple Cores